
Create a Custom Summer Camp Shirt: Cricut Infusible Ink Tutorial
Time: 3-6 hours | Difficulty: Easy | Cost: $$$$$$
Every summer, my husband and I take a week-long camping trip to celebrate our wedding anniversary. Over the past three years, we have hiked at Glacier National Park, biked the Route of the Hiawatha, and stayed in a Sioux style tipi in Missoula, Montana. Of course, it wouldn’t be a true camping trip for me without custom summer camp shirts.
If you are wanting to DIY custom family vacation shirts, create screen print quality shirts without the mess, or just want a unique shirt that no one else has, this tutorial is perfect for you!

Cricut’s Infusible Ink is the easiest method for creating a custom summer camp shirt that will last the test of time. My first camp sweatshirt, created in 2023, still looks as good as the day I made it; Even after countless wears and washes. Cricut Design Space makes uploading a design to their interface so simple, you can have your shirt designed and ready within an afternoon.
If you do not have a Cricut, I encourage you to reach out to your local library or makerspace! I live in a city of about 60,000 people, which is considered pretty small, and we have two separate locations with public access to a Cricut cutting machine. The Bozeman Public Library, and Studio Wheelhouse. The Bozeman Makerspace has access to a Brother Silohouette, but since I do not have any experience with that machine, I cannot personally recommend it.
Summer Camp Shirt Materials:
T-Shirt or Sweatshirt (needs to be a polyester blend — at least 50% poly)
Computer
One: Create your custom summer camp shirt design
First, create the design you want for your custom shirt. There are three ways to create a cute summer camp shirt design.
First, you can draw your image on Procreate. This is the most involved, and if you don’t have illustration experience, I recommend skipping to the second or third methods.
Second, you can put together an image on Canva. Canva has really cute summer camp style designs ready to go.
Third, you can use one of the Cricut Design Space templates. These templates are usually a paid feature, but can be worth it if you want to save some steps.
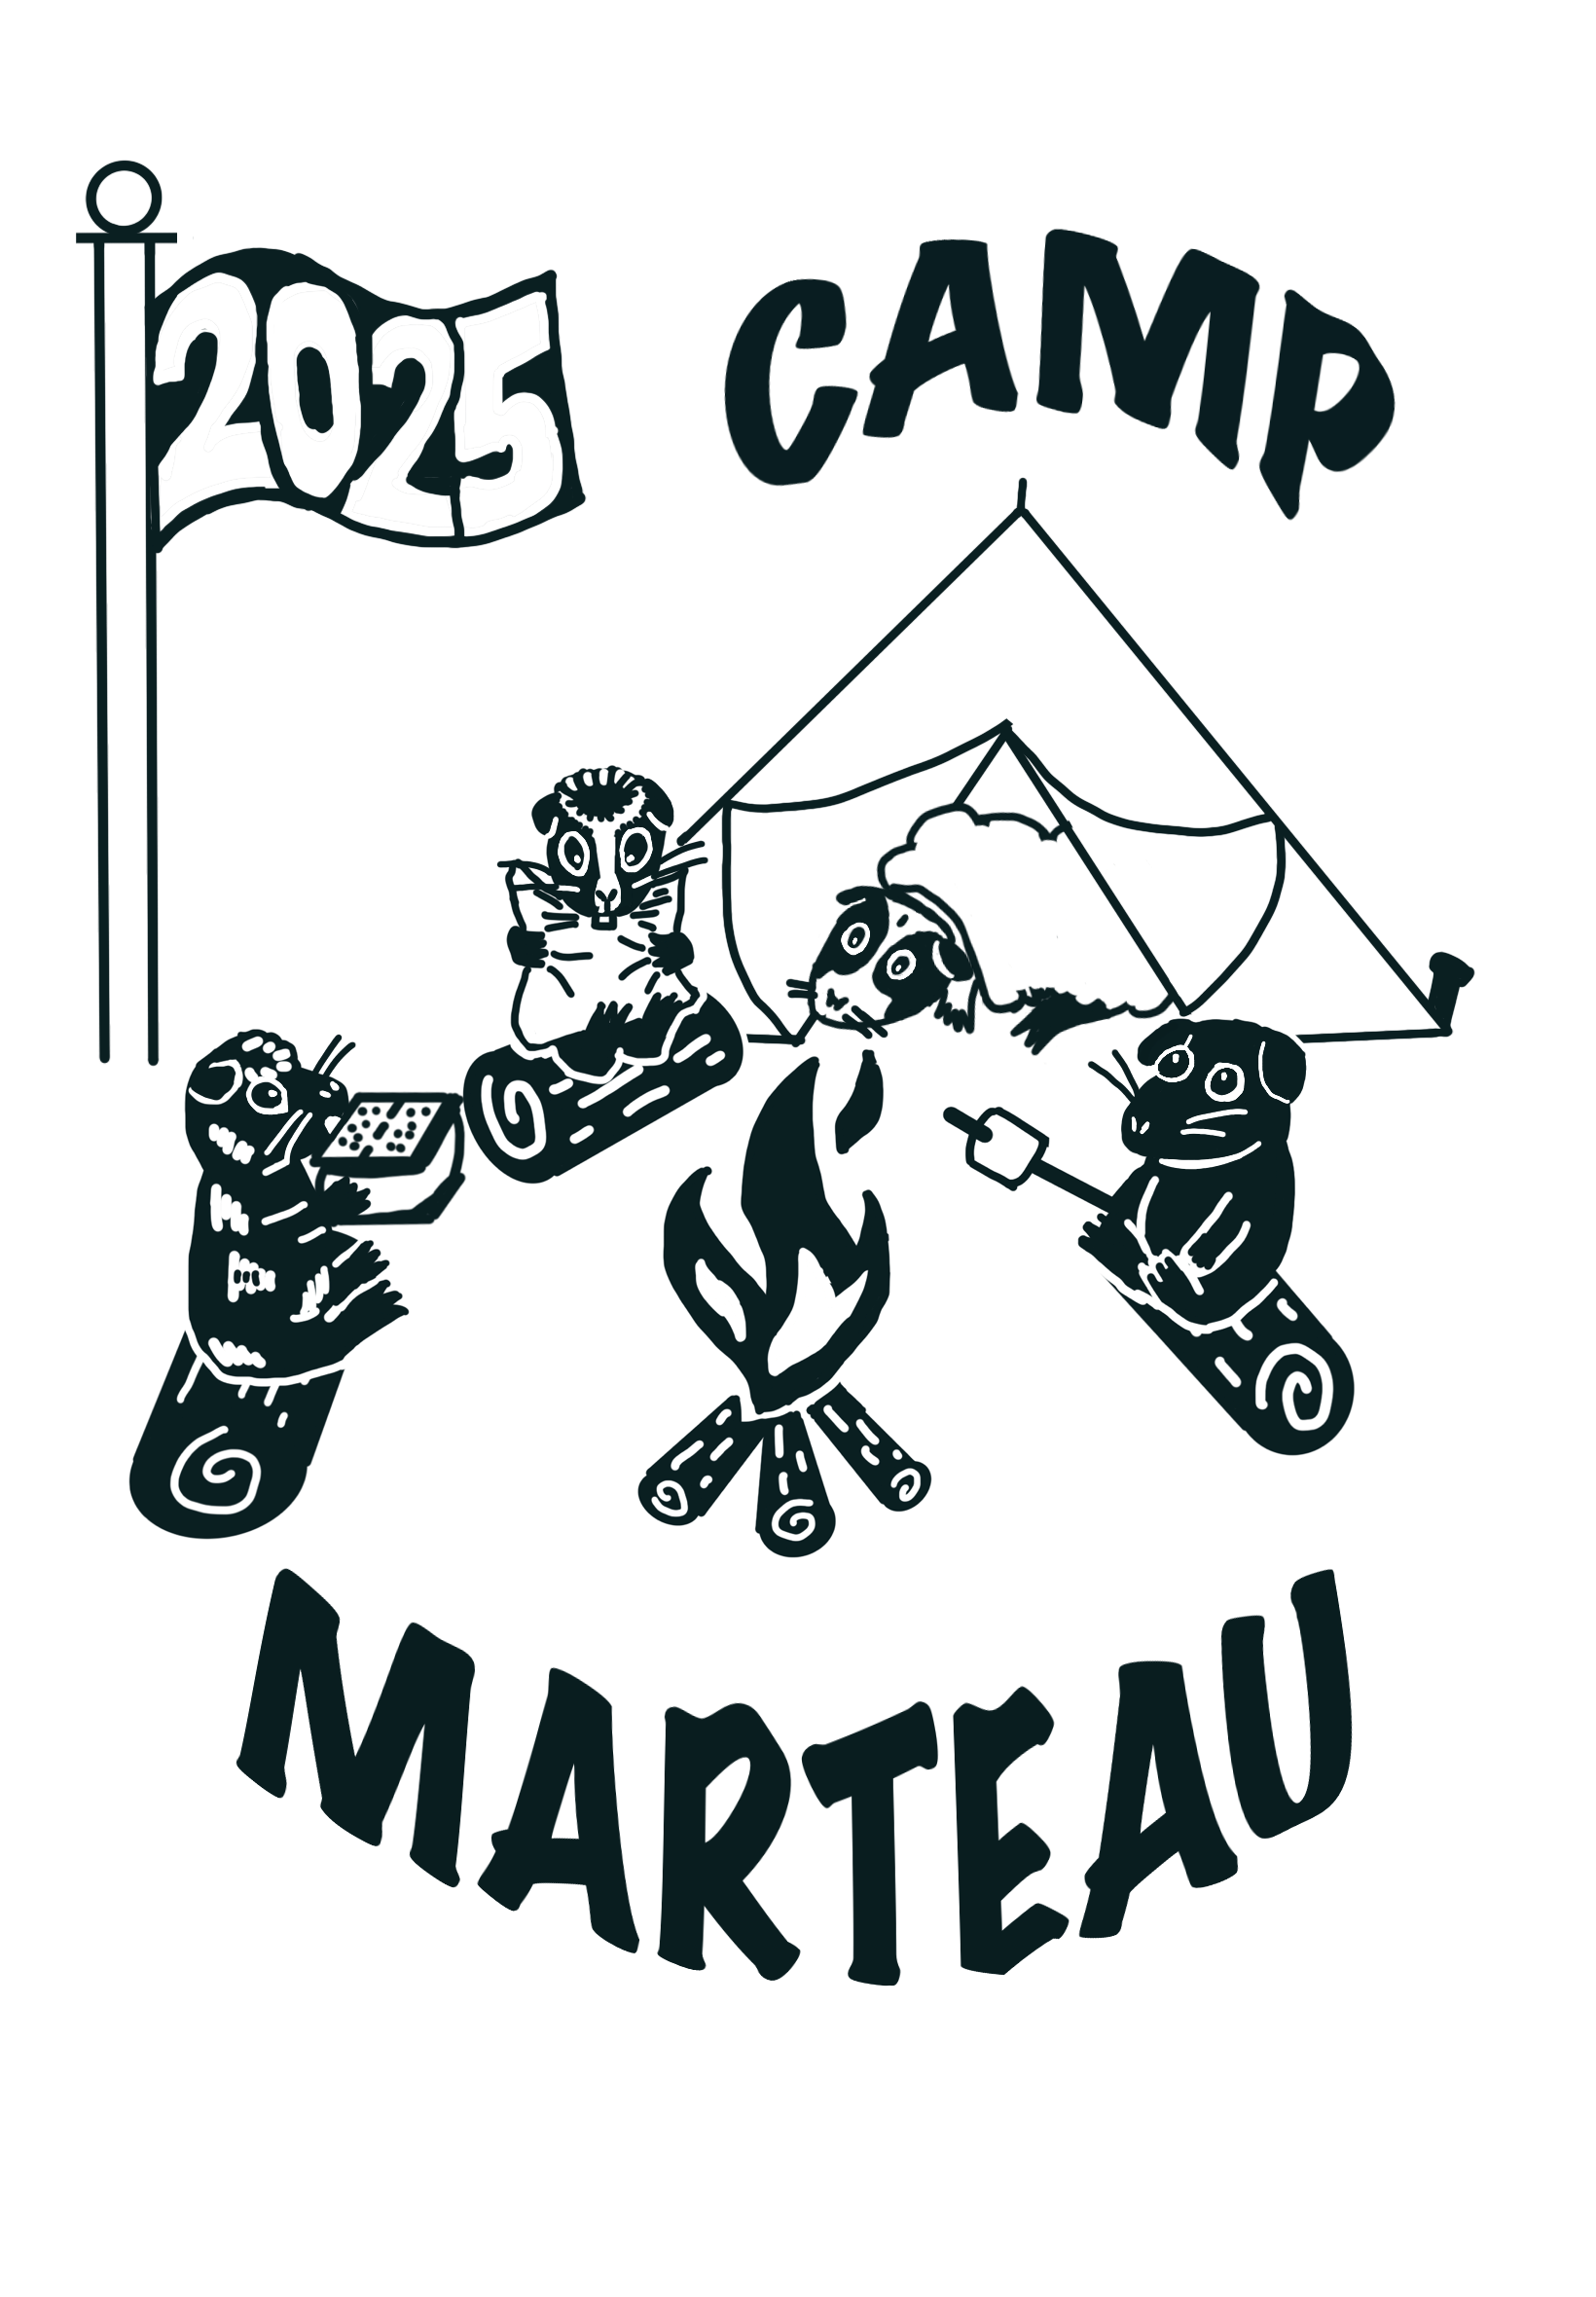
Here is my design, a cartoon of my four guinea pigs around a camp fire. The pigs are always a part of my summer camp shirts, and this year, my husband created the design on Procreate!
Two: Upload to cricut design space
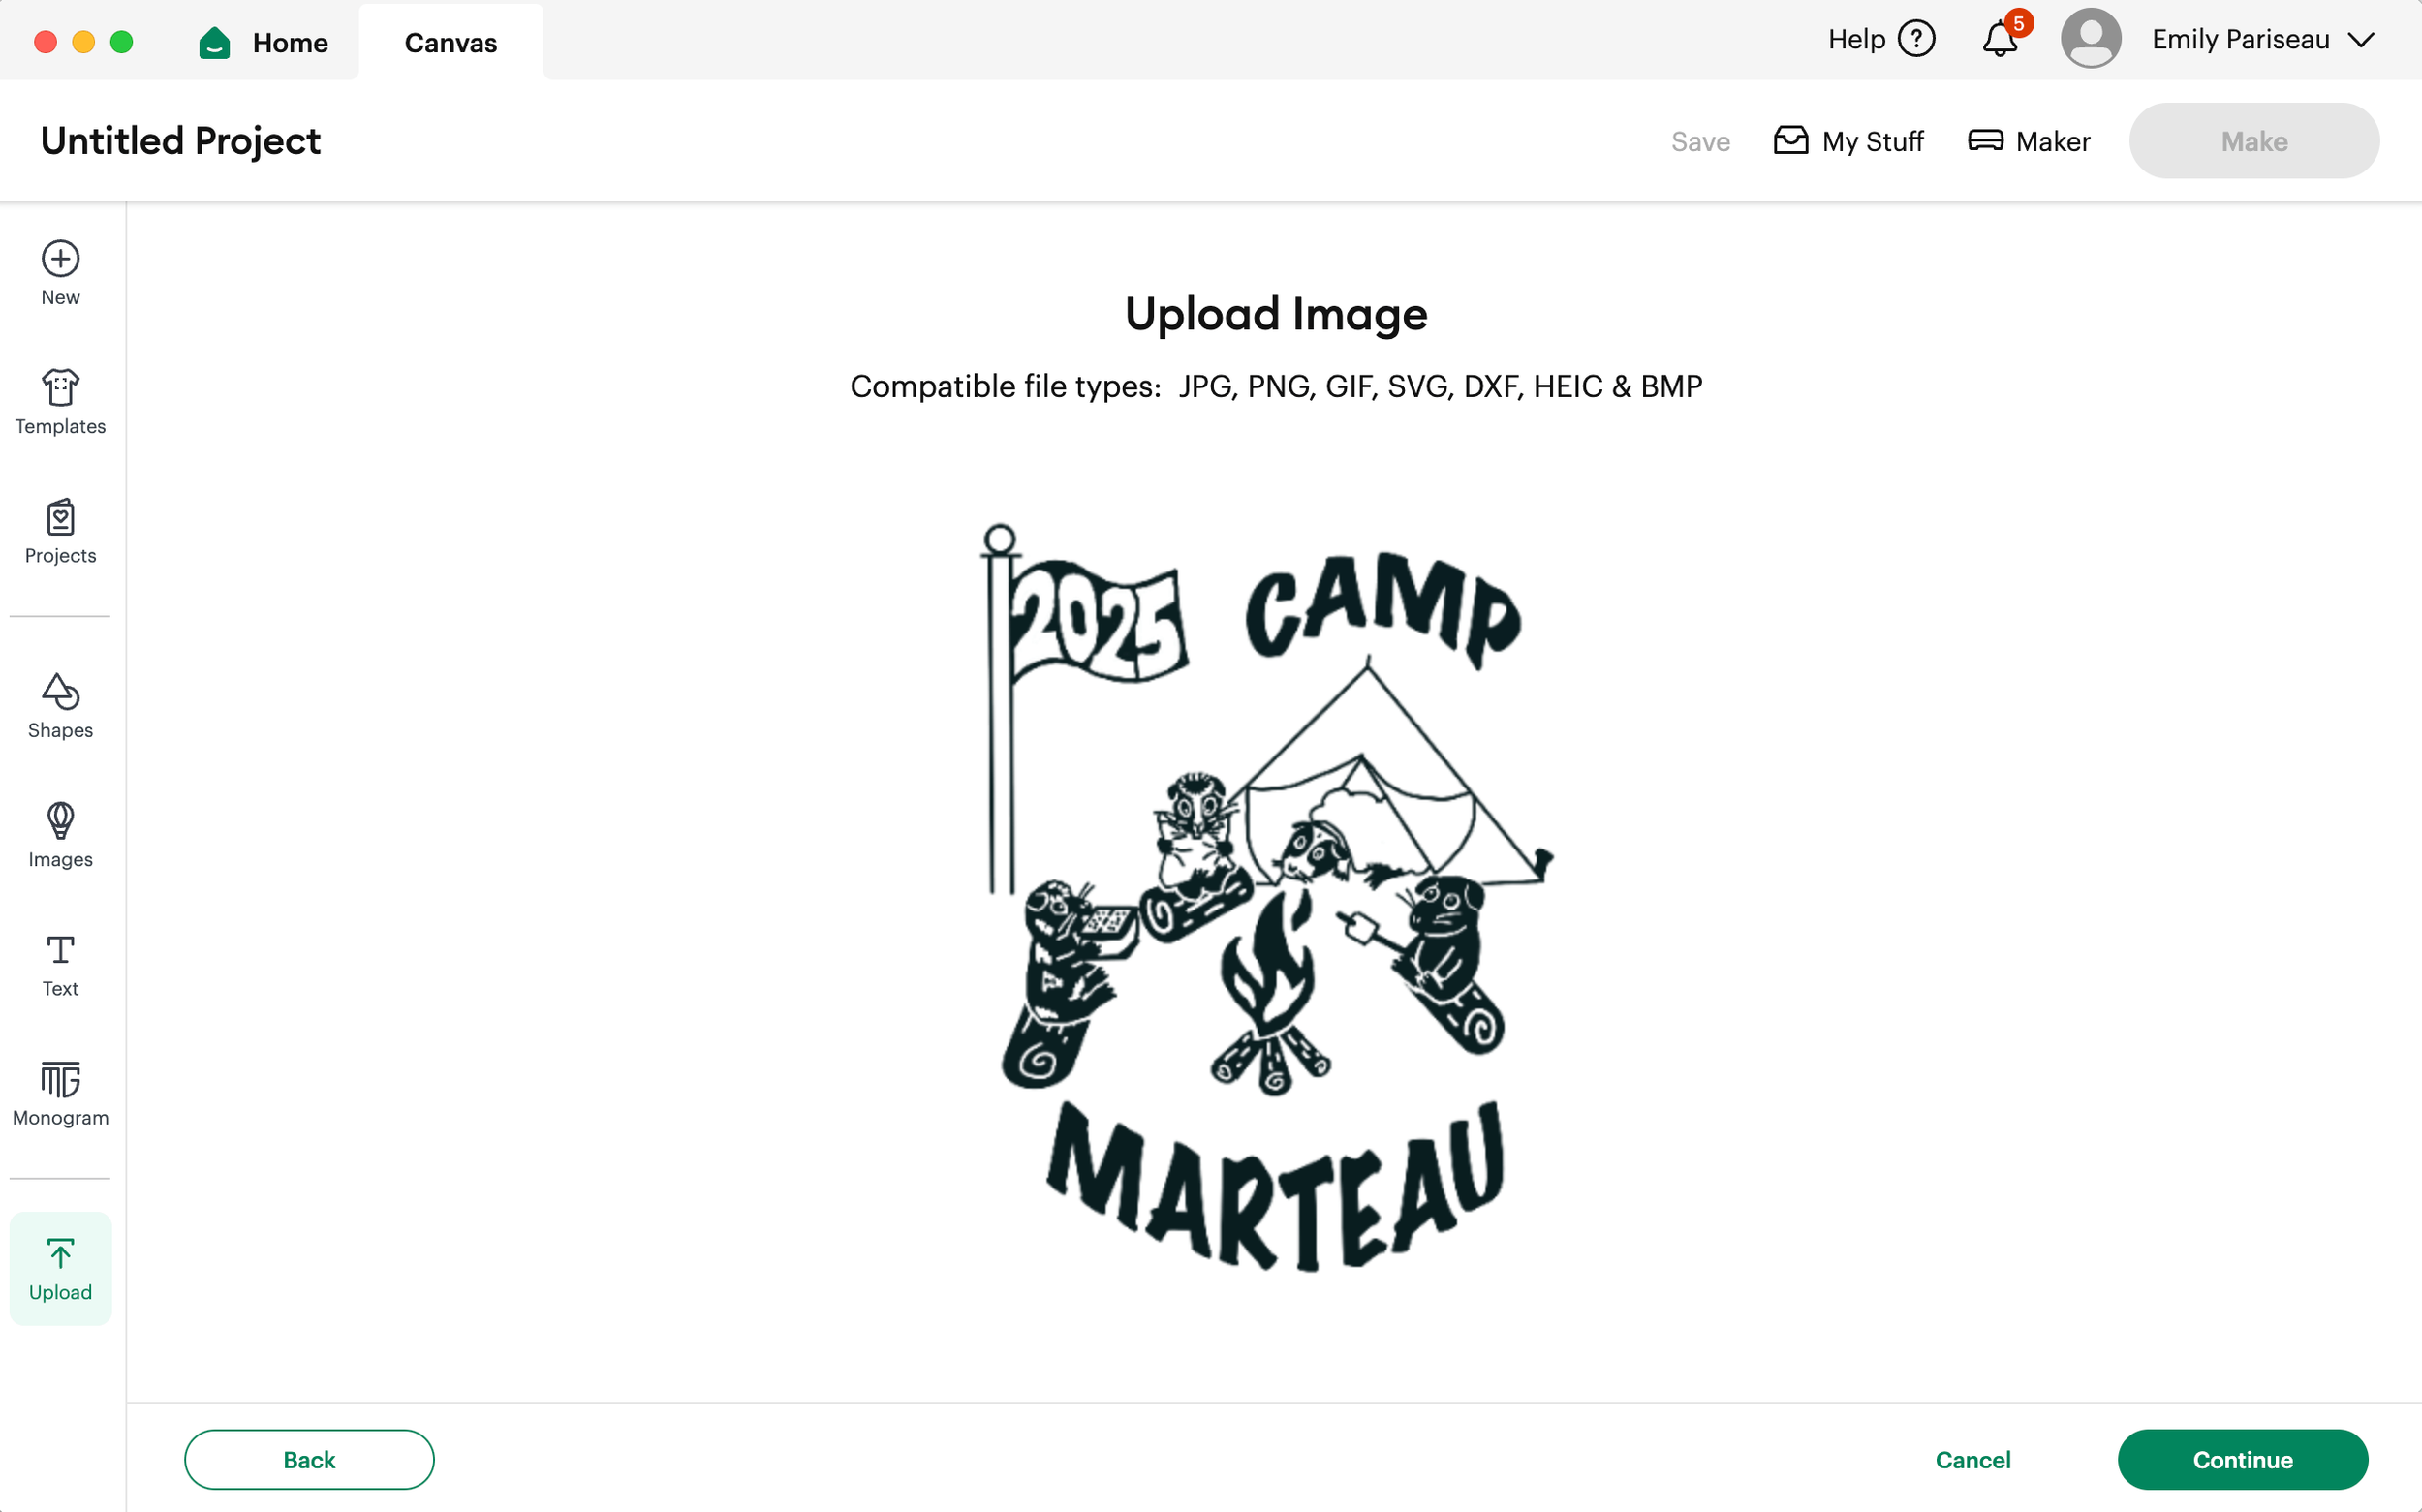
Whether you created your design on Procreate or Canva, download your DIY summer camp shirt design image to a .png file and upload it to Cricut Design Space.


Cricut has a feature where you can erase the negative space of the design by clicking, making converting the .png to a cut-able image is pretty easy.
My design had a lot of small bits of negative space, and I had to be mindful to click every single bit before finishing the upload. It happened a couple of times where I thought I had clicked everything, but then one of the guineas had completely black, soulless eyes.
Three: Measure your blank shirt

Mark the center front of your shirt and lay it flat. Measure out how long and wide you want the design. Mark the length and width with a pin, and try the shirt on. You don’t want the design to sit too high or too low on your chest.
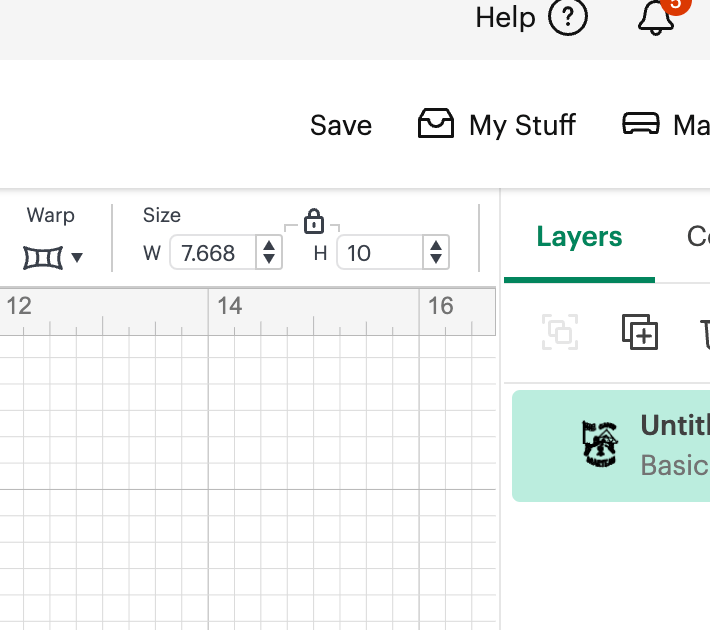
Adjust the length and width of your design in Cricut Design Space to match the desired design size on the shirt.
Four: Set up your Cricut
First, create a cutting area. The space needs to be big enough for the Cricut cutting mat to extend all the way forward and backward.

Then, select “Make” in Cricut Design Space and choose the final settings. For this cut, choose “Infusible Ink Transfer Sheet,” and make sure to mirror your design. Load up the Cricut Fine Point Blade into my Cricut machine. Load up the cutting mat into your Cricut.

Five: Let the Cricut cut!
Press the flashing Cricut “C” on your machine, and let the Cricut do its thing!

Six: Weed
Once the Cricut is done cutting, unload the cutting mat and peel your the transfer sheet off of the mat. Using scissors, cut away the material as close to the design as possible, without accidentally cutting away any of your image.
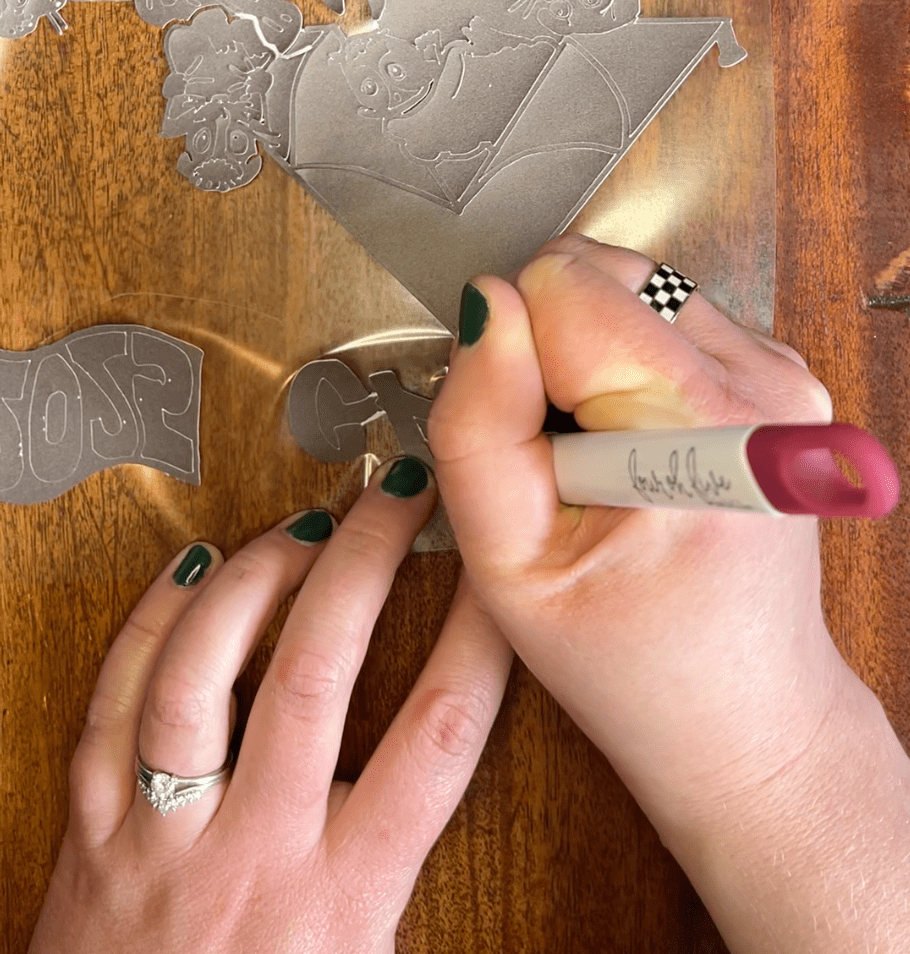
Now, peel away the excess material from the negative spaces in your design. This is the most meticulous part, but be careful not to accidentally peel away part of your design!
Seven: Apply your custom shirt design to the shirt
Important: Open a window or do this next step in a well-ventilated area. The infusible ink lets off fumes.
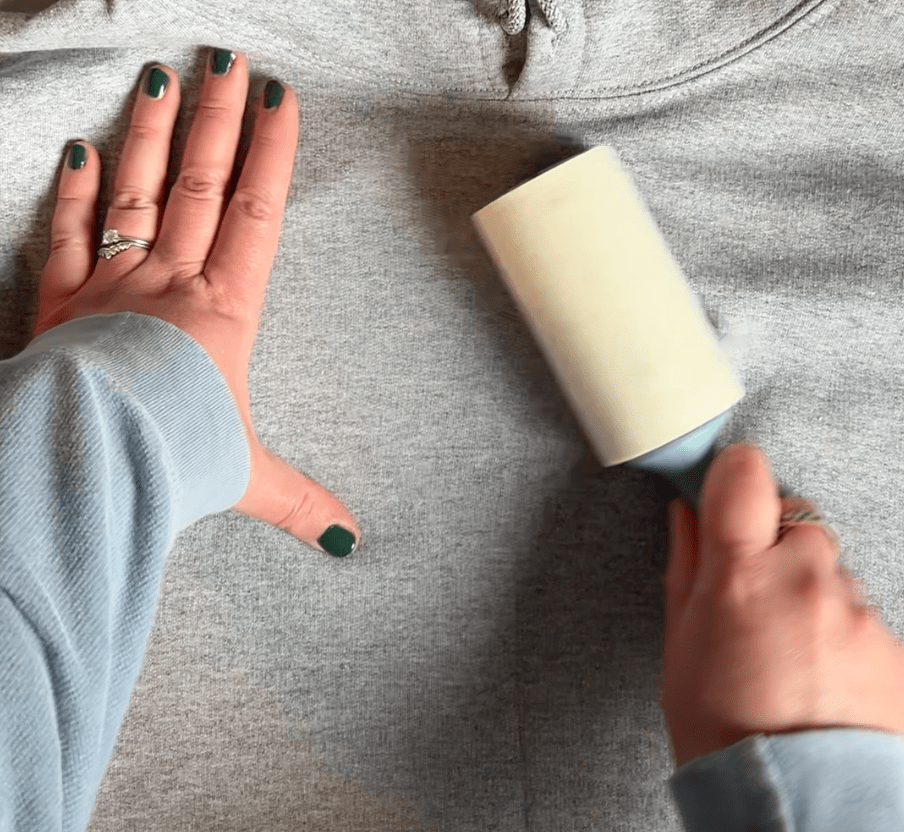
Run a lint roller over the shirt to make sure any fibers are removed from the shirt before application.
Then, place a piece of card stock inside of your shirt — this ensures that the Infusible Ink does not run onto the backside of the shirt. Next, place a piece of parchment paper on top of the shirt so that the fabric doesn’t get scorched by the EasyPress or Iron.

Preheat the shirt. If you are using an EasyPress, heat the press to 360 degrees. Set the timer for 15 seconds, place it on your shirt, and press with firm pressure. My image was large, so I had to do all of my heating in two segments.
If you are using a regular iron for this step, perform this same process, but with your iron on medium high heat.

Next, remove the parchment paper and place the design on your shirt, color side down and plastic side up. Make sure your design is centered and level on the shirt.

Place the parchment paper back over the Infusible Ink transfer sheet, and apply your easy press once again. Keep it at 360 degrees and heat for 120 seconds, again with firm pressure. If you are using an iron, follow these same instructions, at medium high heat. Repeat until the entire design has been heated.
Eight: Finishing touches

Once the EasyPress or Iron has been on your design for 120 seconds, remove the heat. Lift up the parchment paper. While the design is still hot, peel the plastic layer up from your shirt. The bits of Infusible Ink paper should come up with the plastic, and left behind will be your design!

