
how to sew a quilt jacket (with the Ilford Jacket pattern)
Did you see the quilt jacket trend last winter? I’ve always wanted to sew a quilt jacket, but time got away from me last year and I never got around to it. This year, I got a head start on my fall/winter sewing (am I the only one who always seems to finish my long sleeves and sweaters as soon as the weather warms up?). This quilt jacket tutorial will have you wrapped in the cozy blanket of your dreams in no time.

Materials:
Quilt
Ilford Jacket sewing pattern by Friday Pattern Company
Sewing Machine
Buttons (optional)
When buying a quilt, don’t feel bad about potentially destroying a family heirloom or beautiful blanket. The thrift store is the last stop before a landfill, and your quilt jacket is going to give the blanket a new life.
Step one: prepare your pattern pieces

Cut out your size and favorite style from the Ilford Jacket. The awesome thing about the Ilford Jacket pattern, and what makes it great for a diy quilt jacket, is that there are so many different ways to customize the jacket. You can choose a short or longer length, loose or structured sleeves, and there are 3-4 different pocket options.

For my quilt jacket, I chose the longer length and boxy sleeves, and kept it simple with just two front pockets.
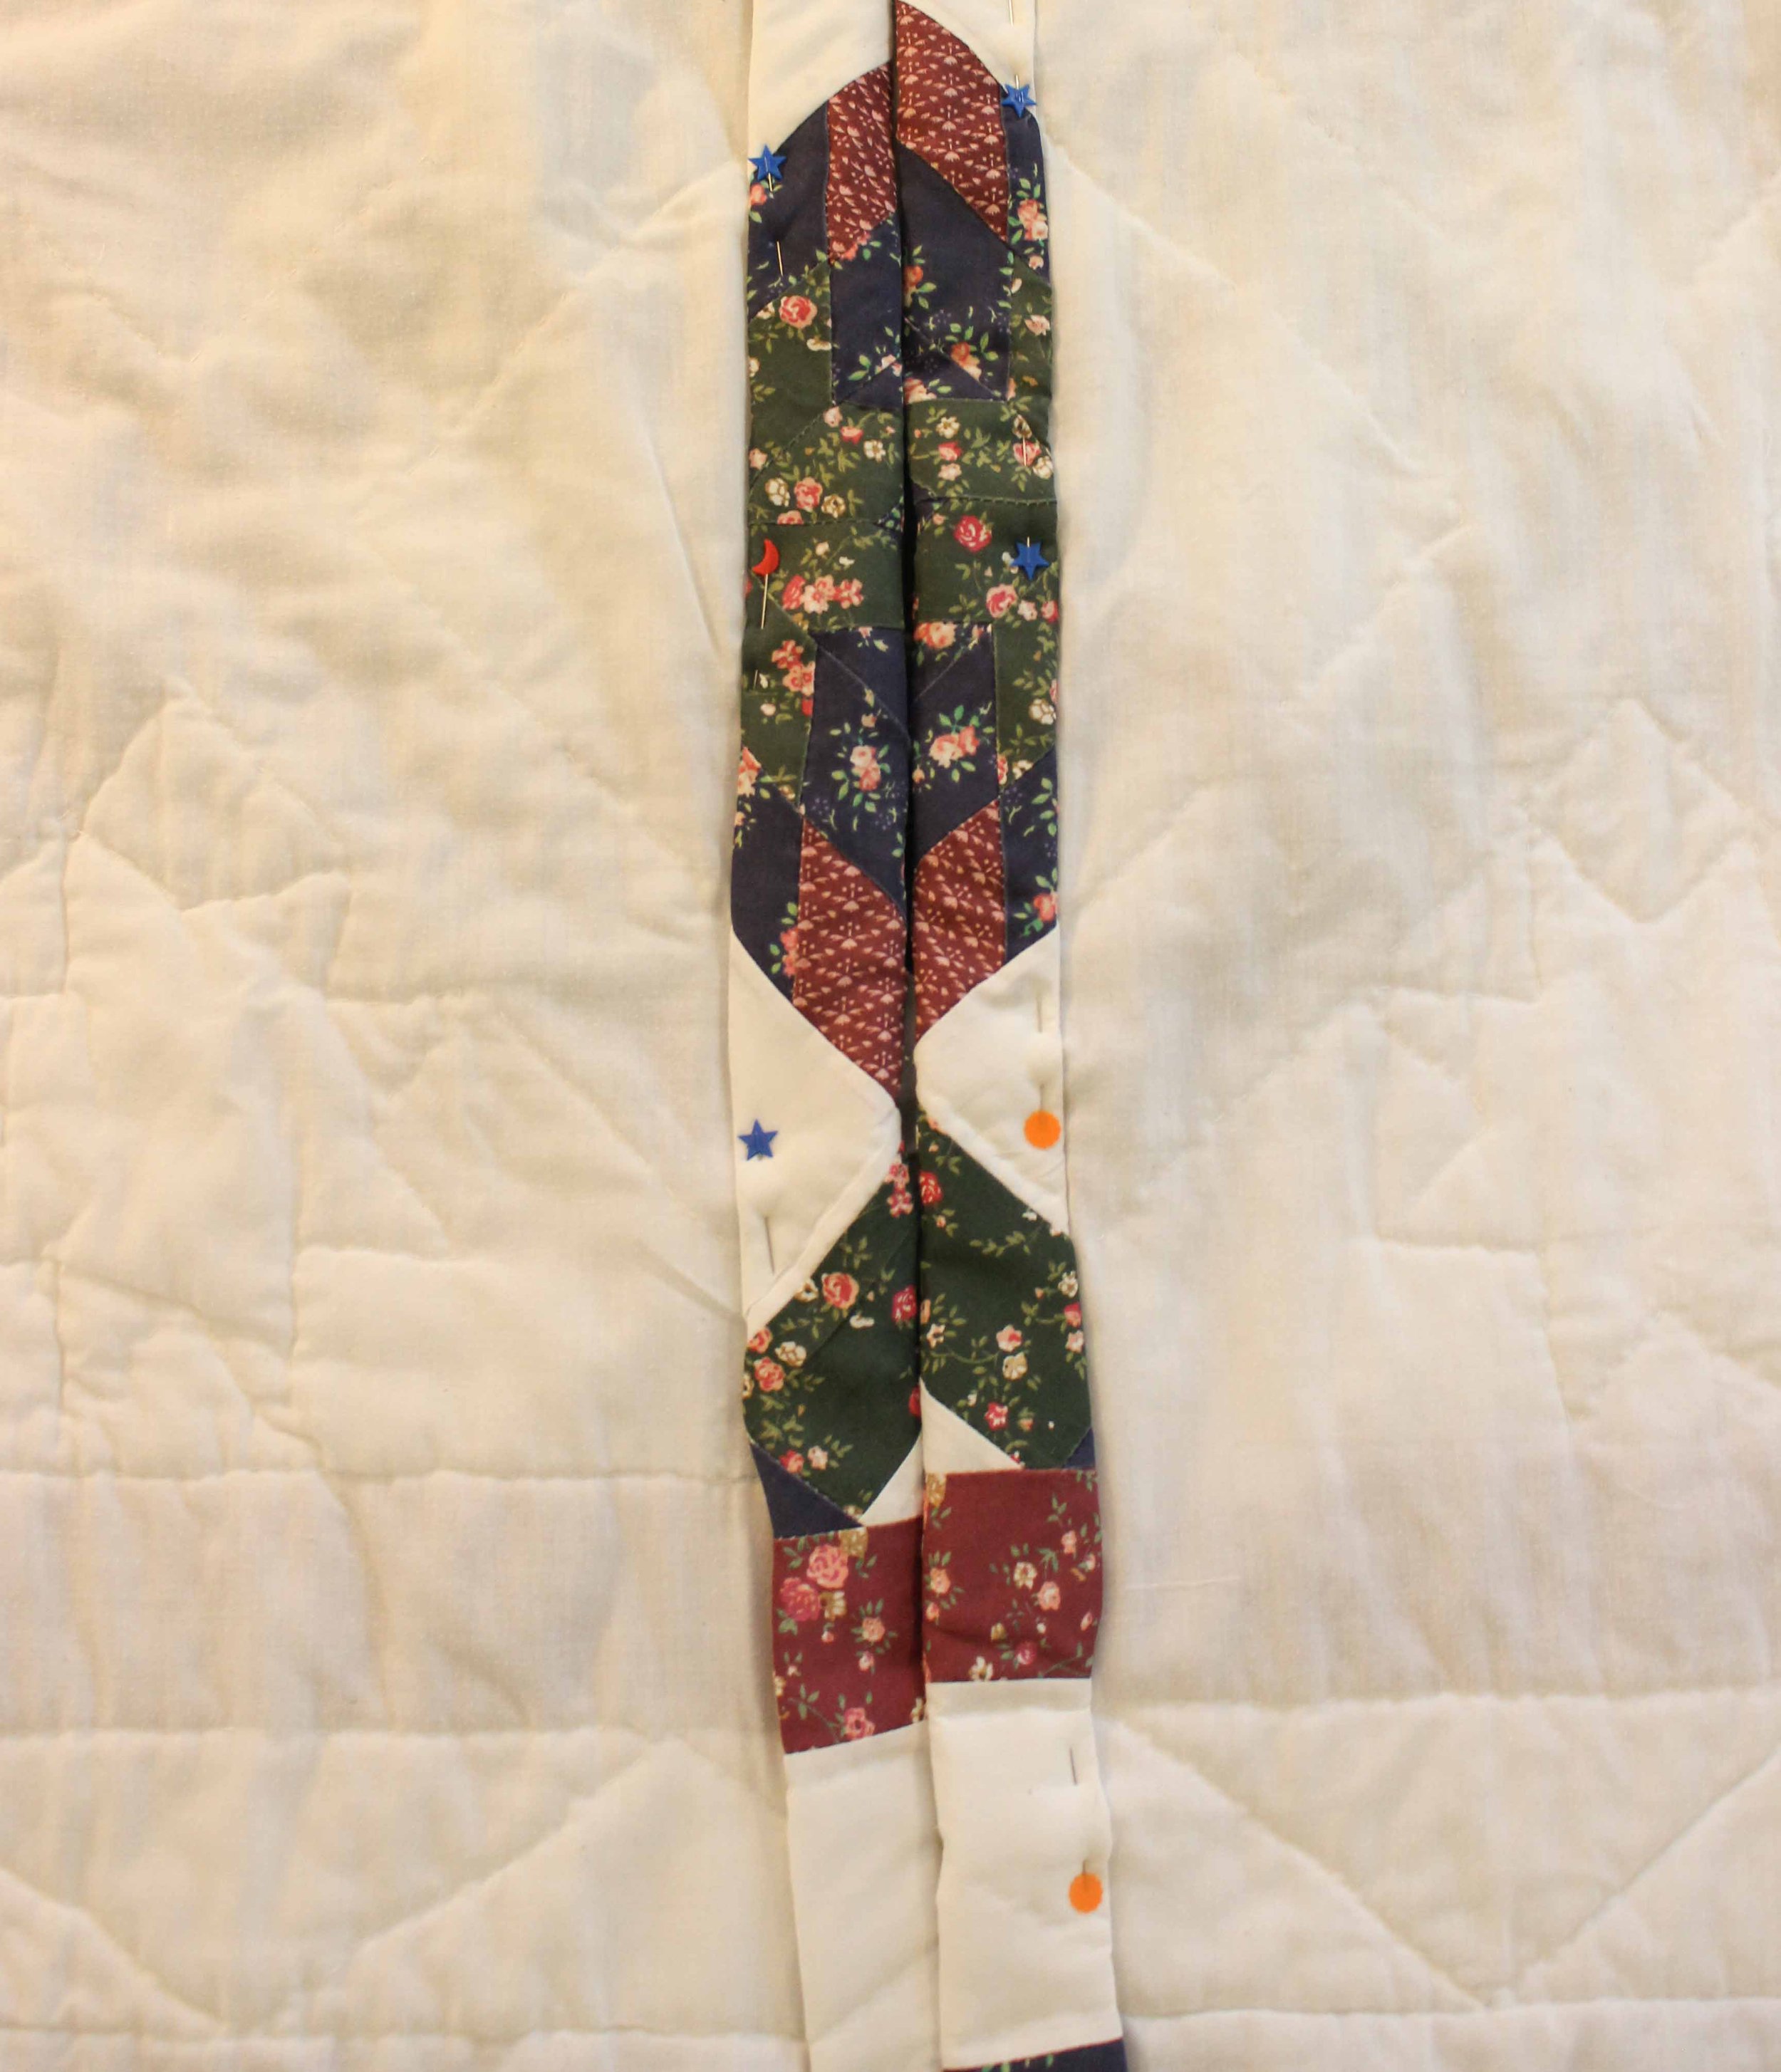
When you’re laying out your pattern pieces onto the quilt, pay attention to all the parts of the quilt that you love. Is there a starburst pattern, or a cute motif? You probably want that to be either your center back or center front, or maybe on a pocket.

Lay your pattern pieces thoughtfully, so that the design of the quilt can really shine through in your jacket.
Step two: prepare the interfacing
The next few steps are going to be following the Ilford Jacket pattern instructions.

First, prepare your interfacing for the collar and the button placket. In these spots, if your quilt is particularly thick, I recommend trimming off the batting (the fluffy cotton insert) from your quilt. Otherwise, your collar and button placket will look really bulky.
Step three: sew your jacket
From here, go ahead and sew your quilt jacket according to the Ilford Jacket’s instructions. For your inside seams, I recommend using either french seams, or finishing the seams together (with either an overlocker or a zig-zag stitch).
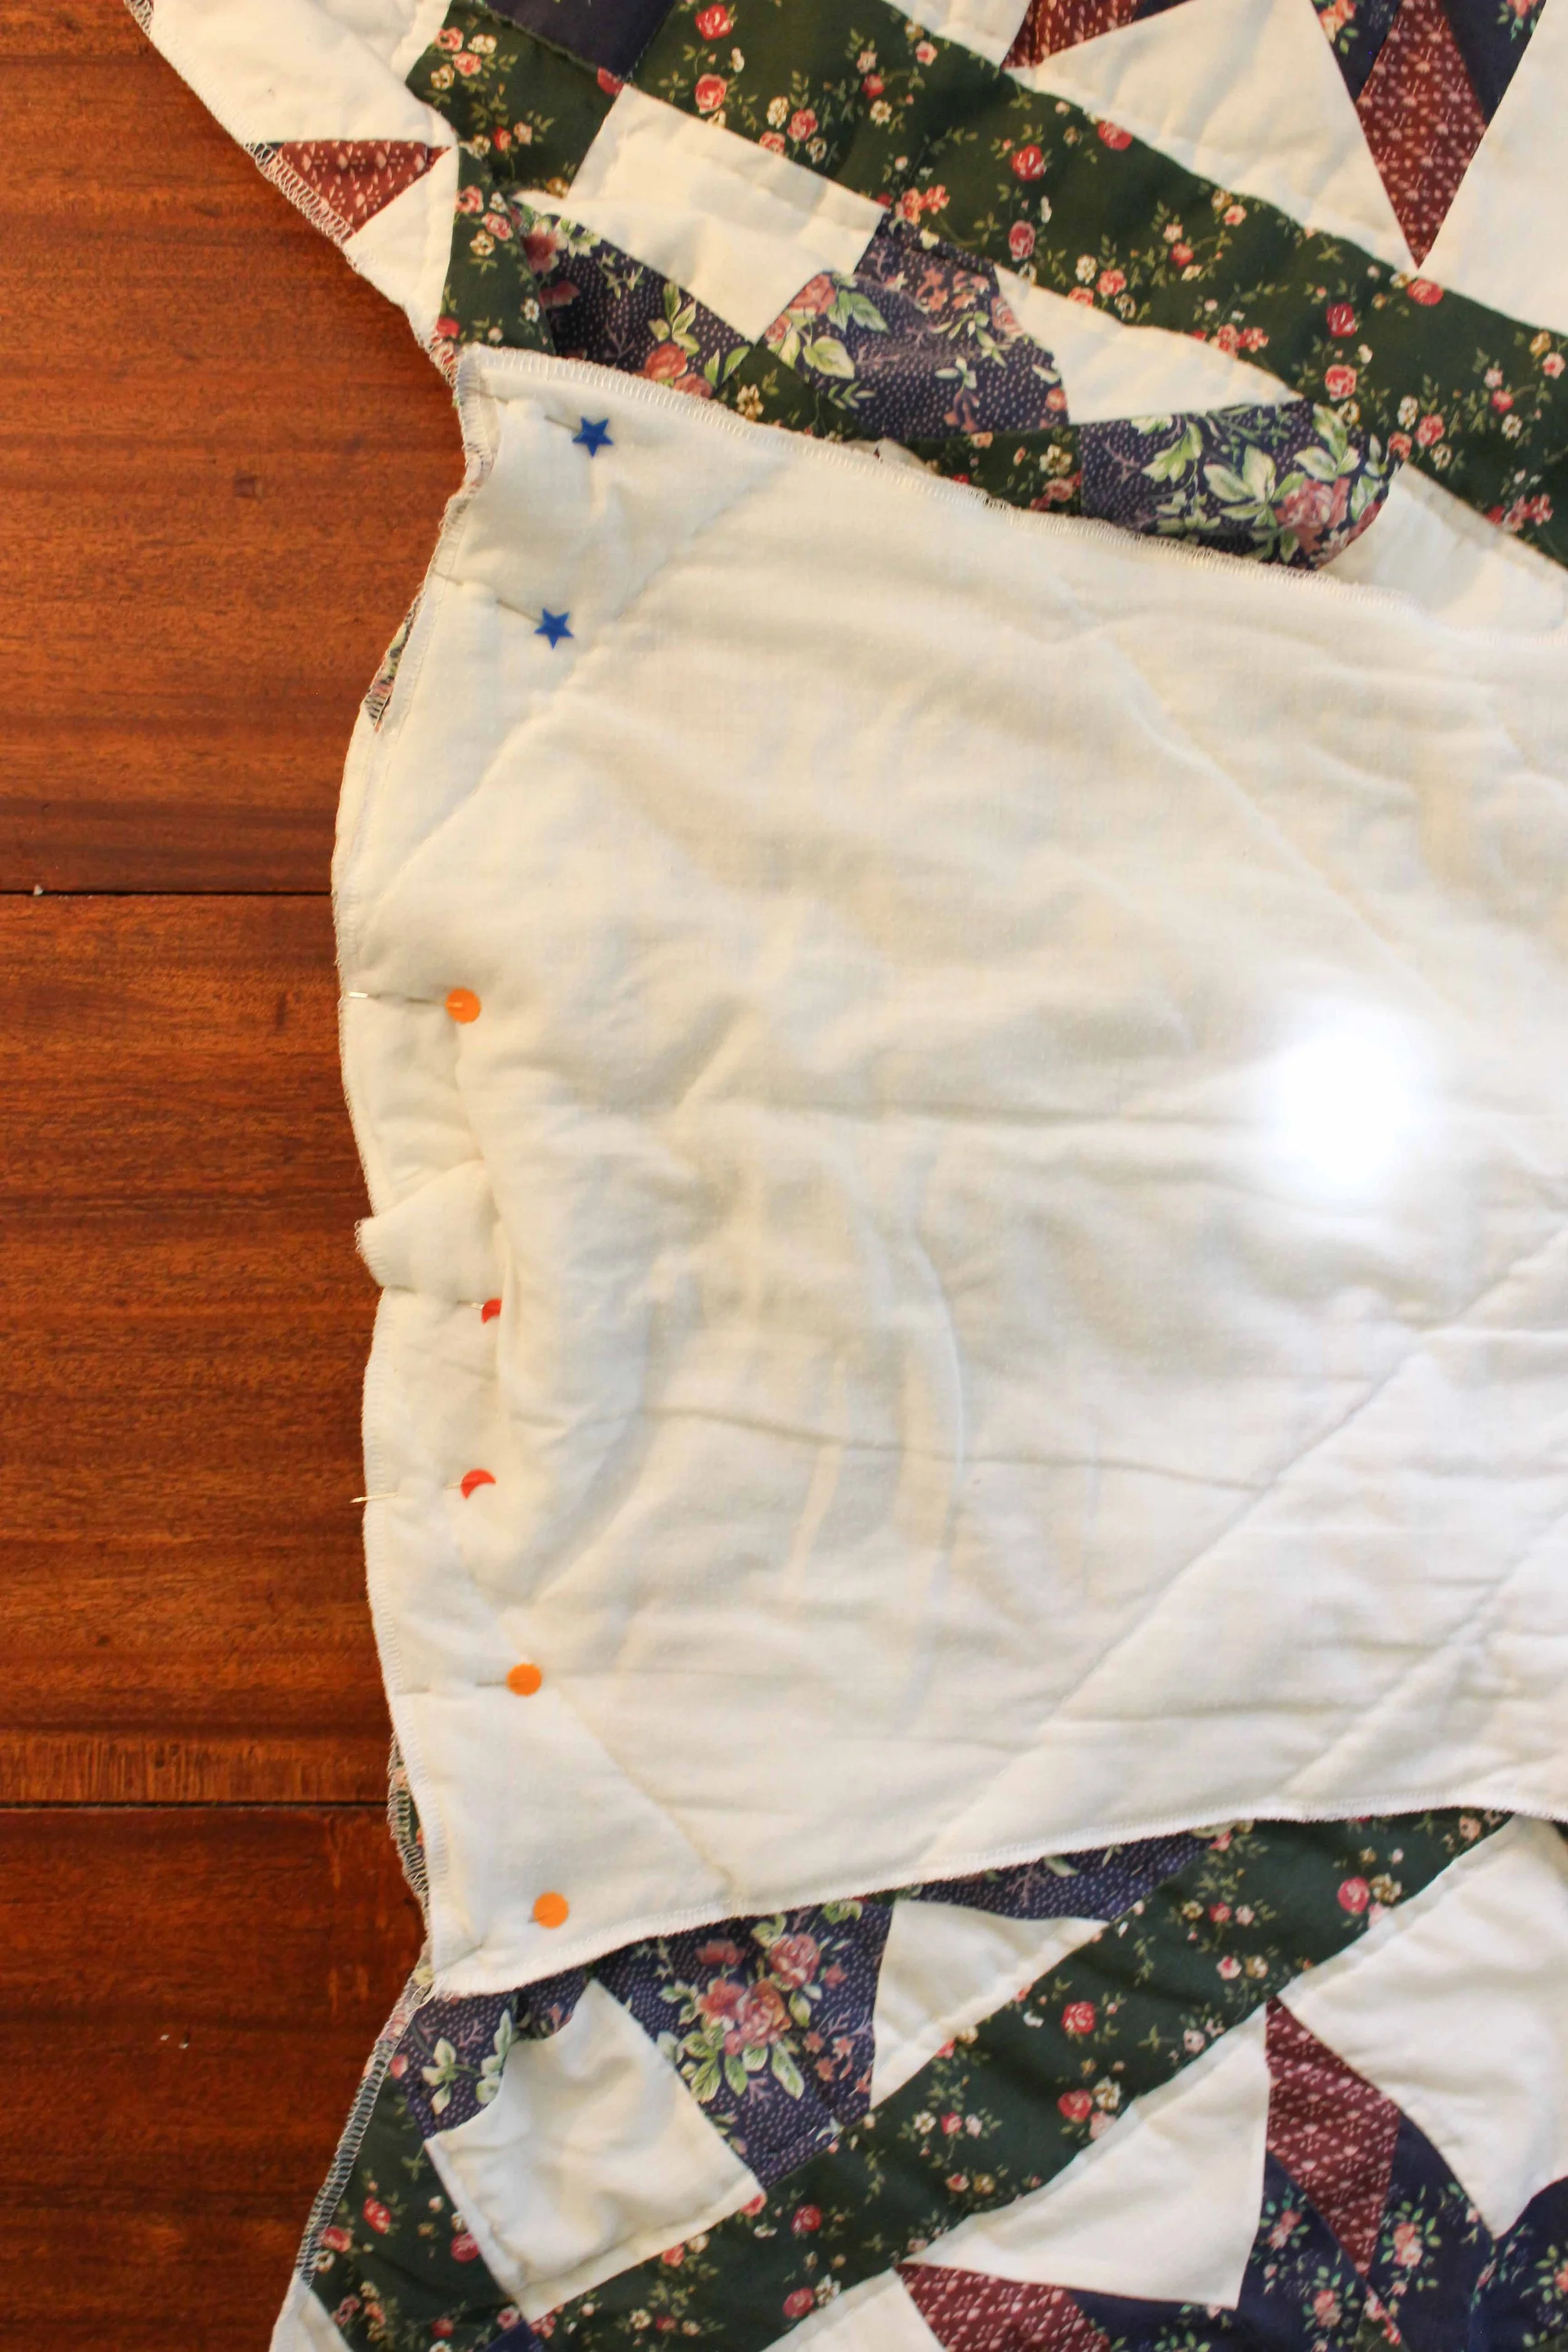
I went with the pattern recommendations of finishing the seams before sewing the jacket pieces together, but I think it would have a cleaner finish if I had done it after sewing the side seams together.

For my quilt jacket, I used the edge of the quilt as the hem, instead of sewing a separate hem. If you choose not to do this, make sure you trim the batting away from the bottom edge of your quilt jacket, so that the hem will lay nice and flat.

The Ilford Jacket pattern is really easy to follow, and since there aren’t a lot of pattern pieces, your quilt jacket should come together quickly. Please comment down below to let me know how your jacket came out, or if you have any questions! x