
linocut printmaking at home
Linocut printmaking is surprisingly easy, and requires very few supplies. In this tutorial, I will walk you through each step of making a linocut print at home, including materials needed, how to make a design, and how to print your design using a wooden spoon (no press required).

Materials:
Battleship gray linoleum (I bought unmounted 5x7 and 8x10)
Graphite paper (optional)
Wooden spoon
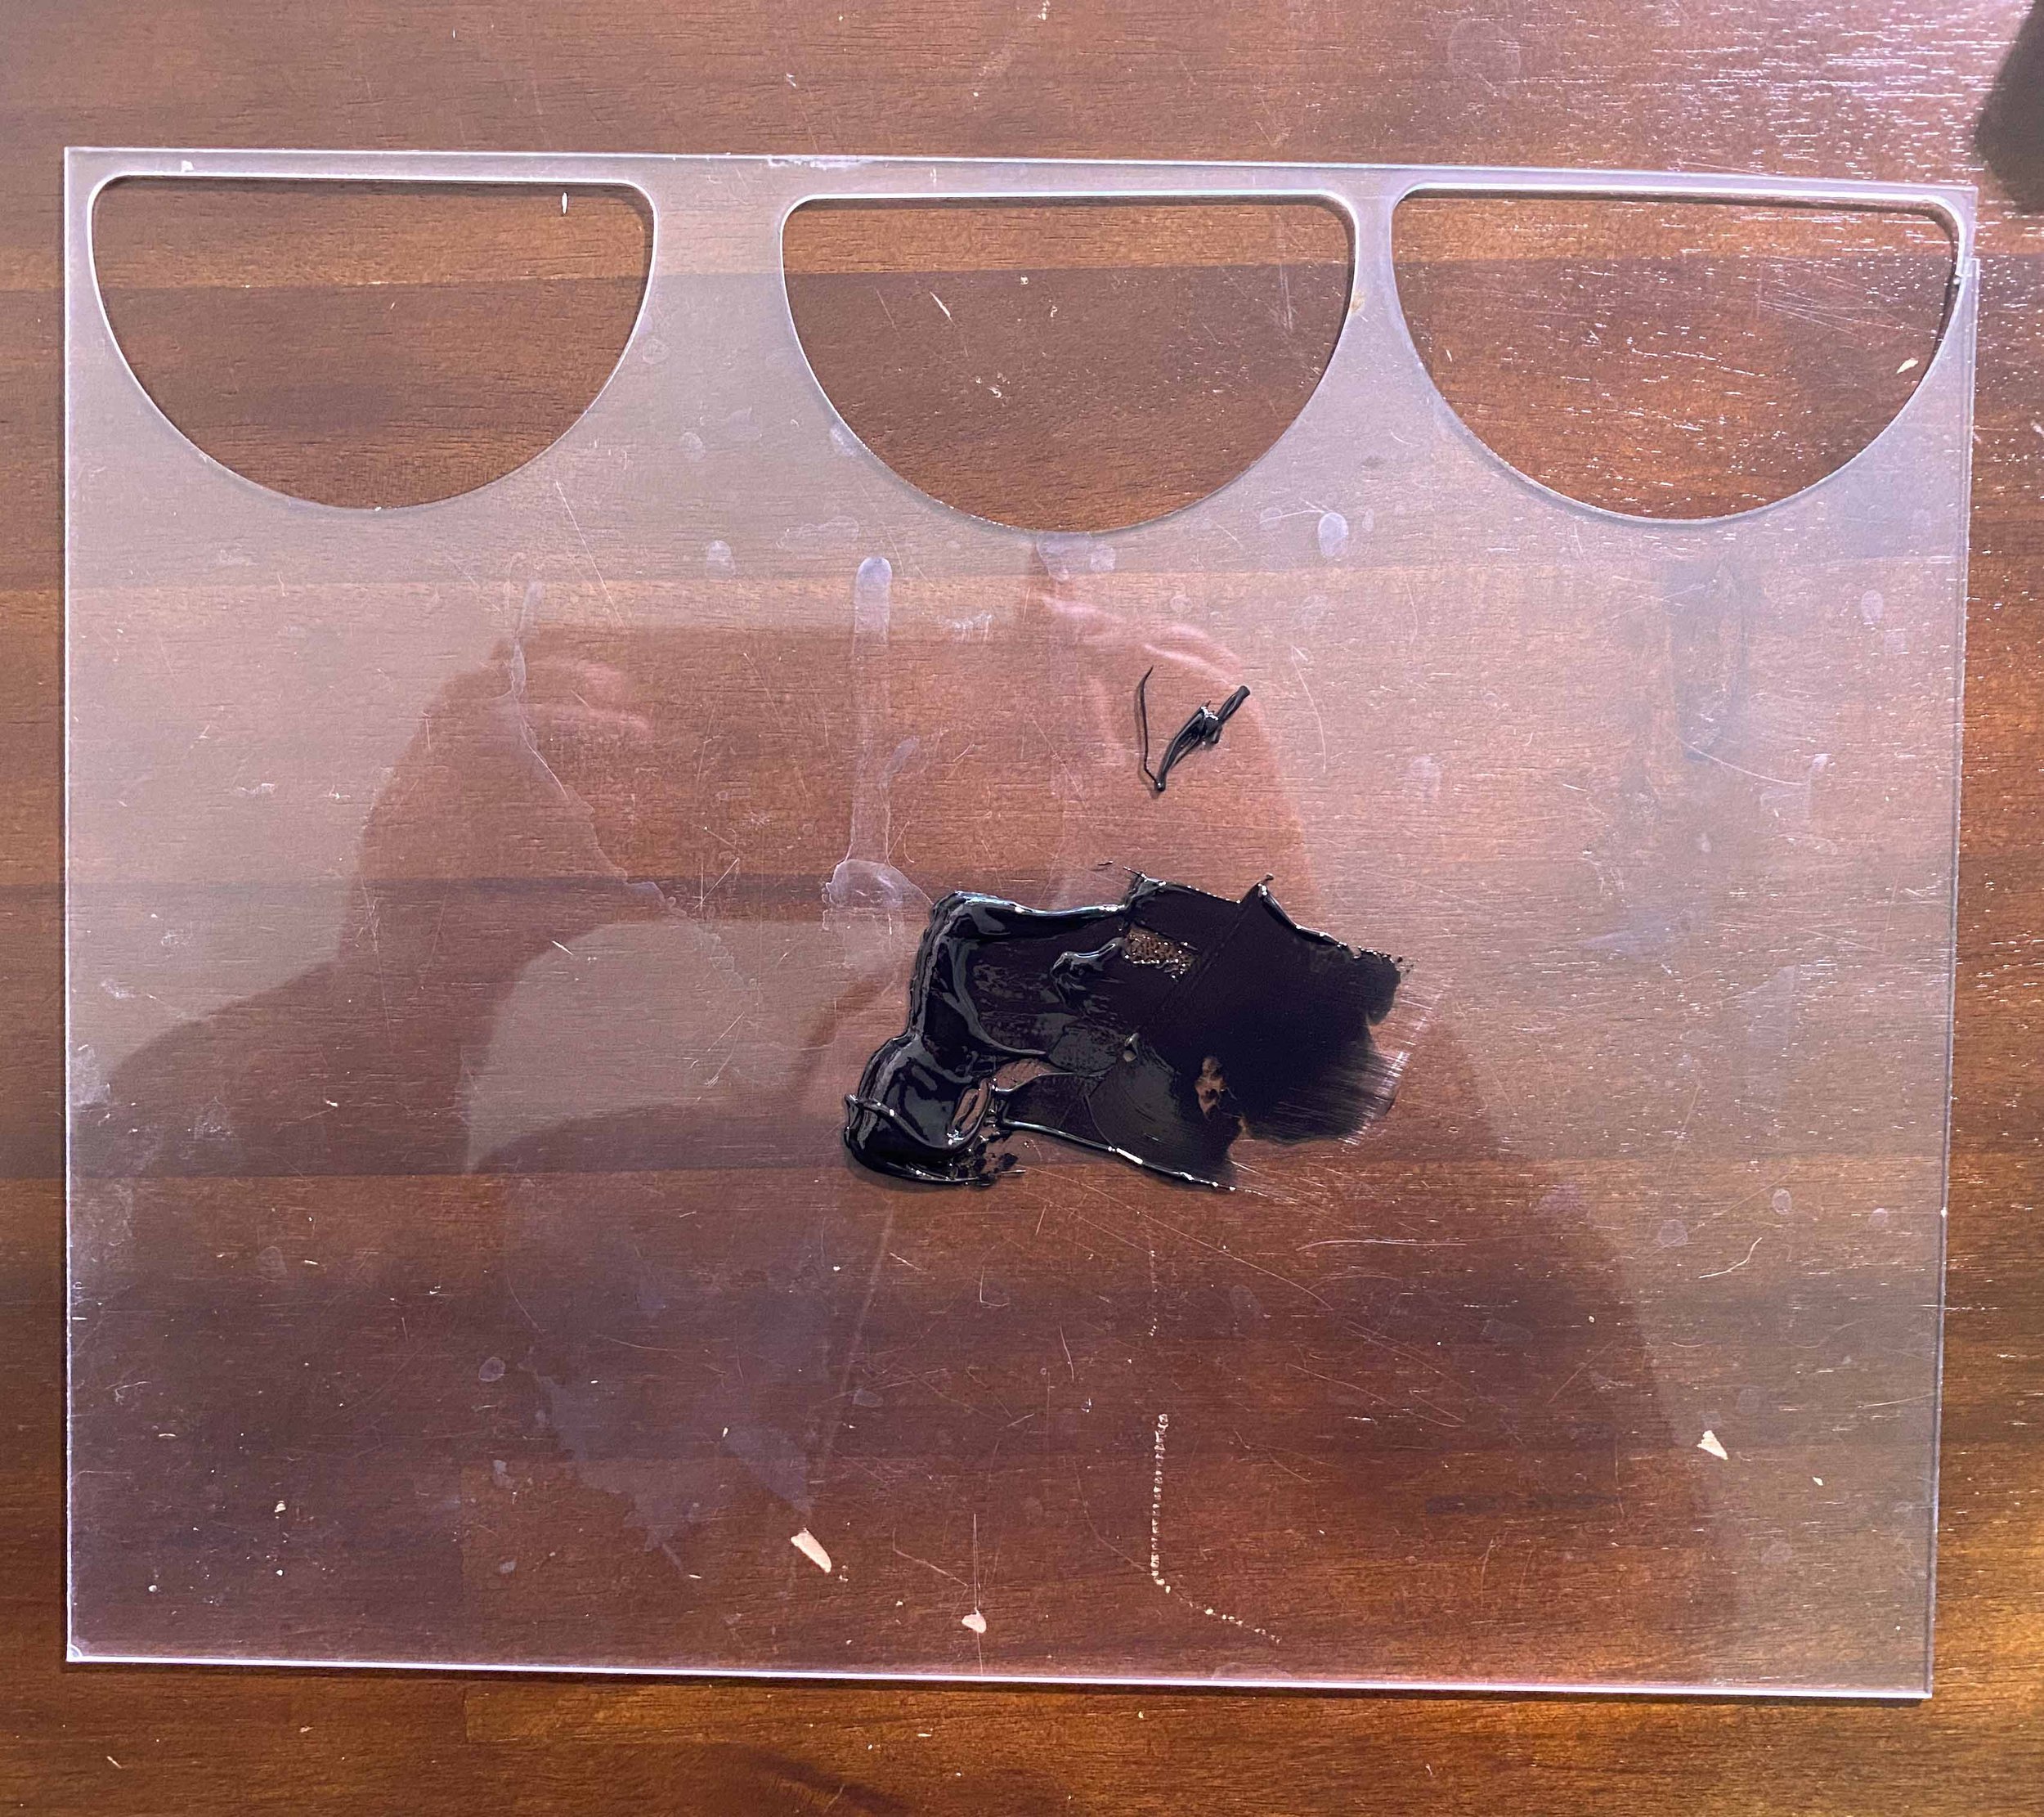
8”x10” acrylic sheet
Choose your design
The first step to making a linocut print at home is choosing a design. You can either print an image or draw your own. Don’t worry about being a perfect artist here - you can make an amazing linocut print with just shapes or basic designs. For my linocut print, I drew an Over the Garden Wall inspired design.

There are two things to keep in mind when choosing your linocut design. First, any part that you carve away will stay white, and any part that you do not carve will be colored. The second is when you print your linocut, your design is going to be reversed, so if you have any text, make sure to mirror it before carving your design.
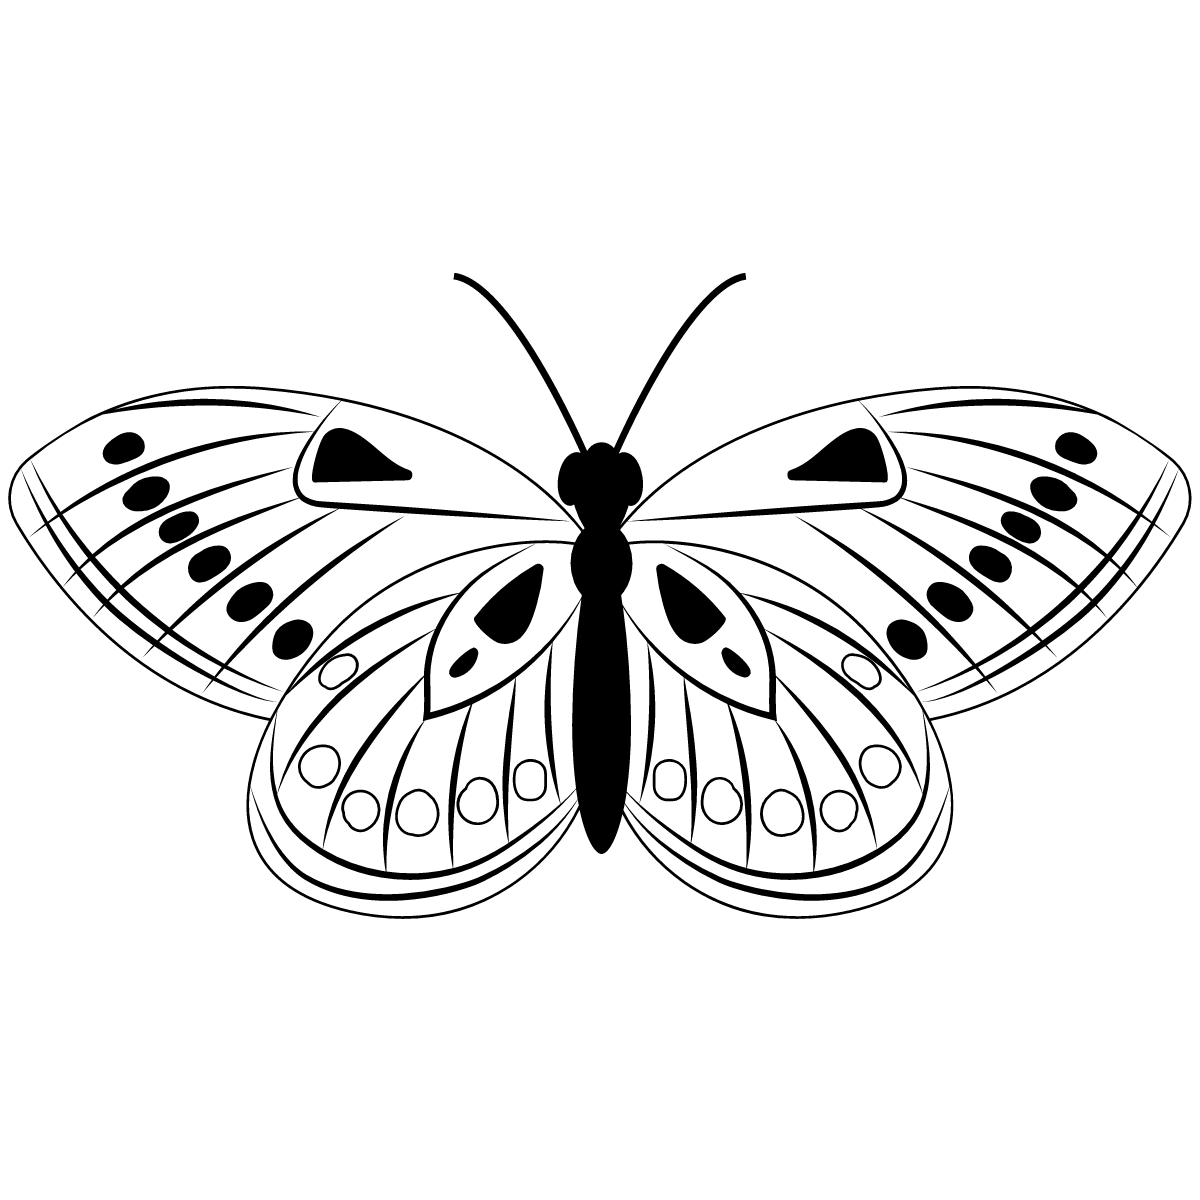
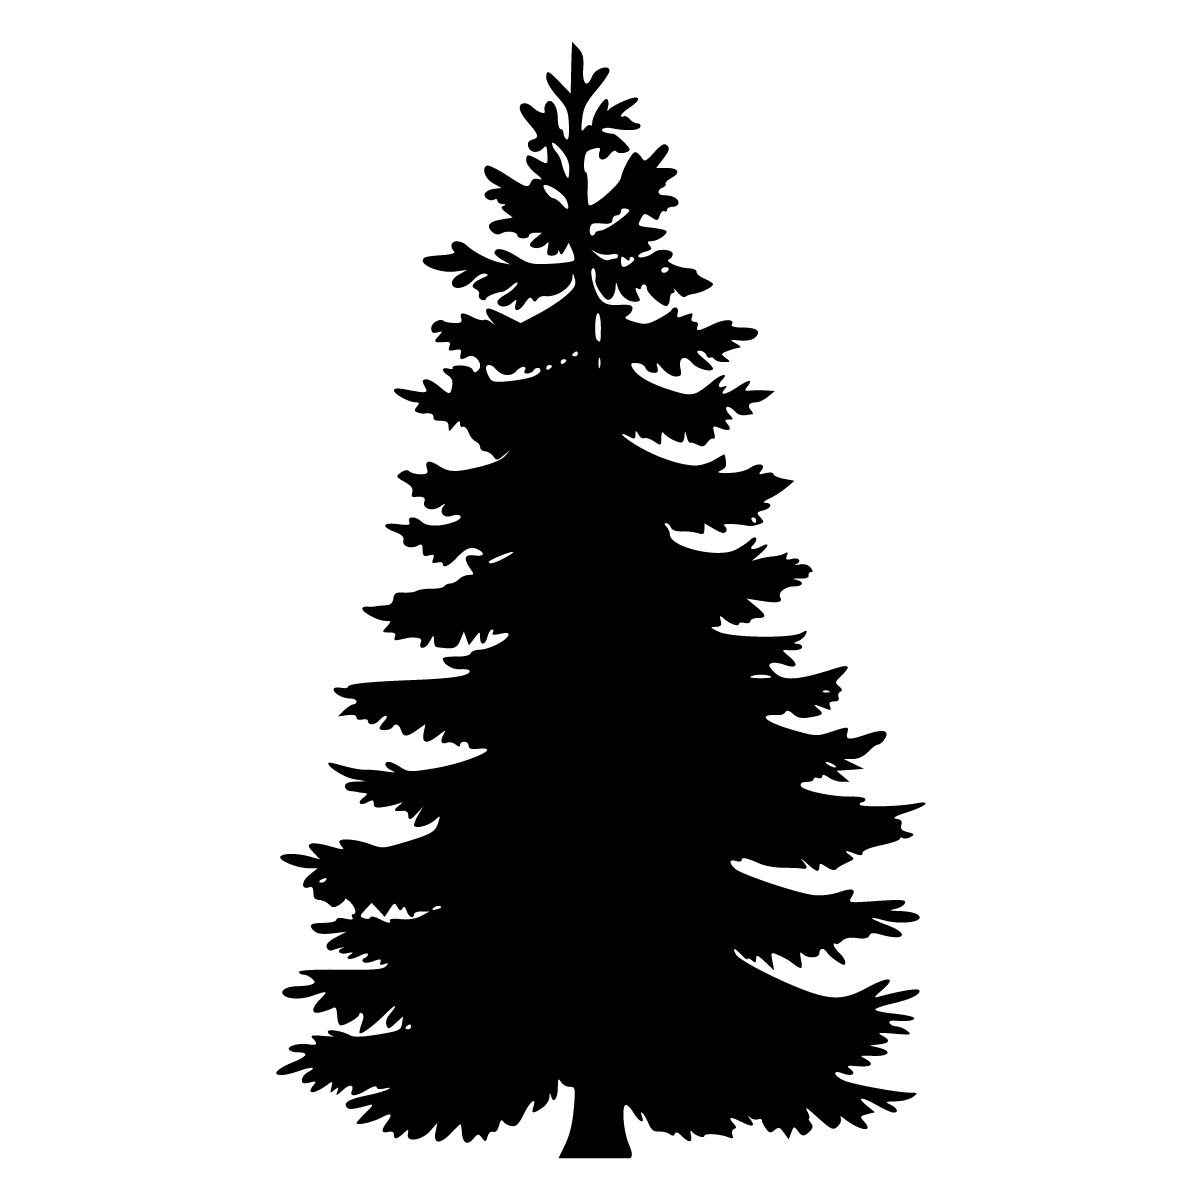
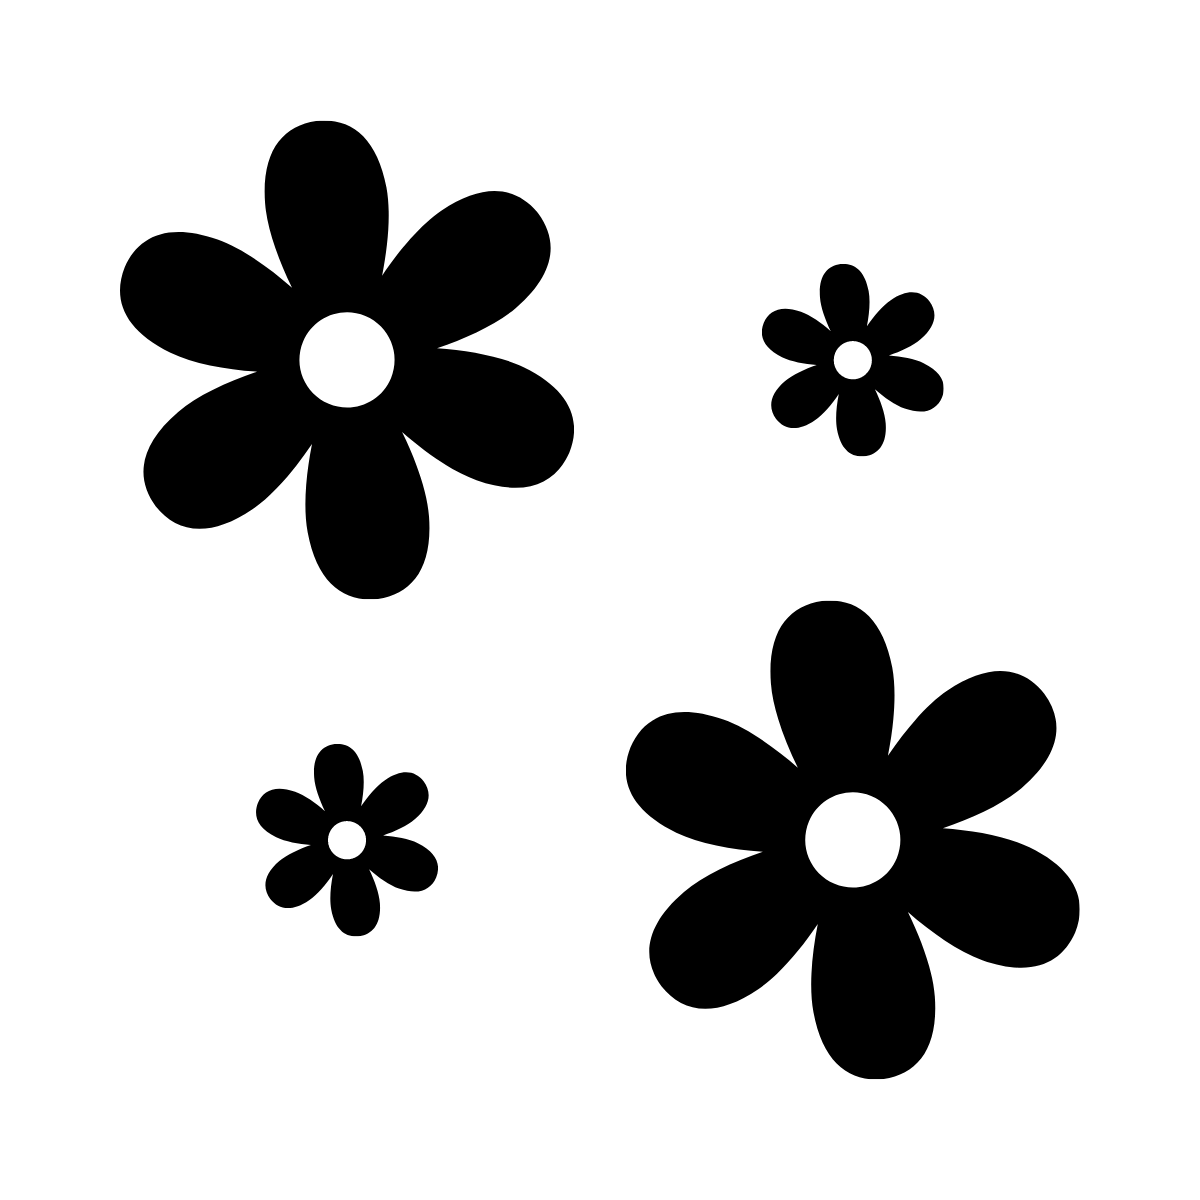
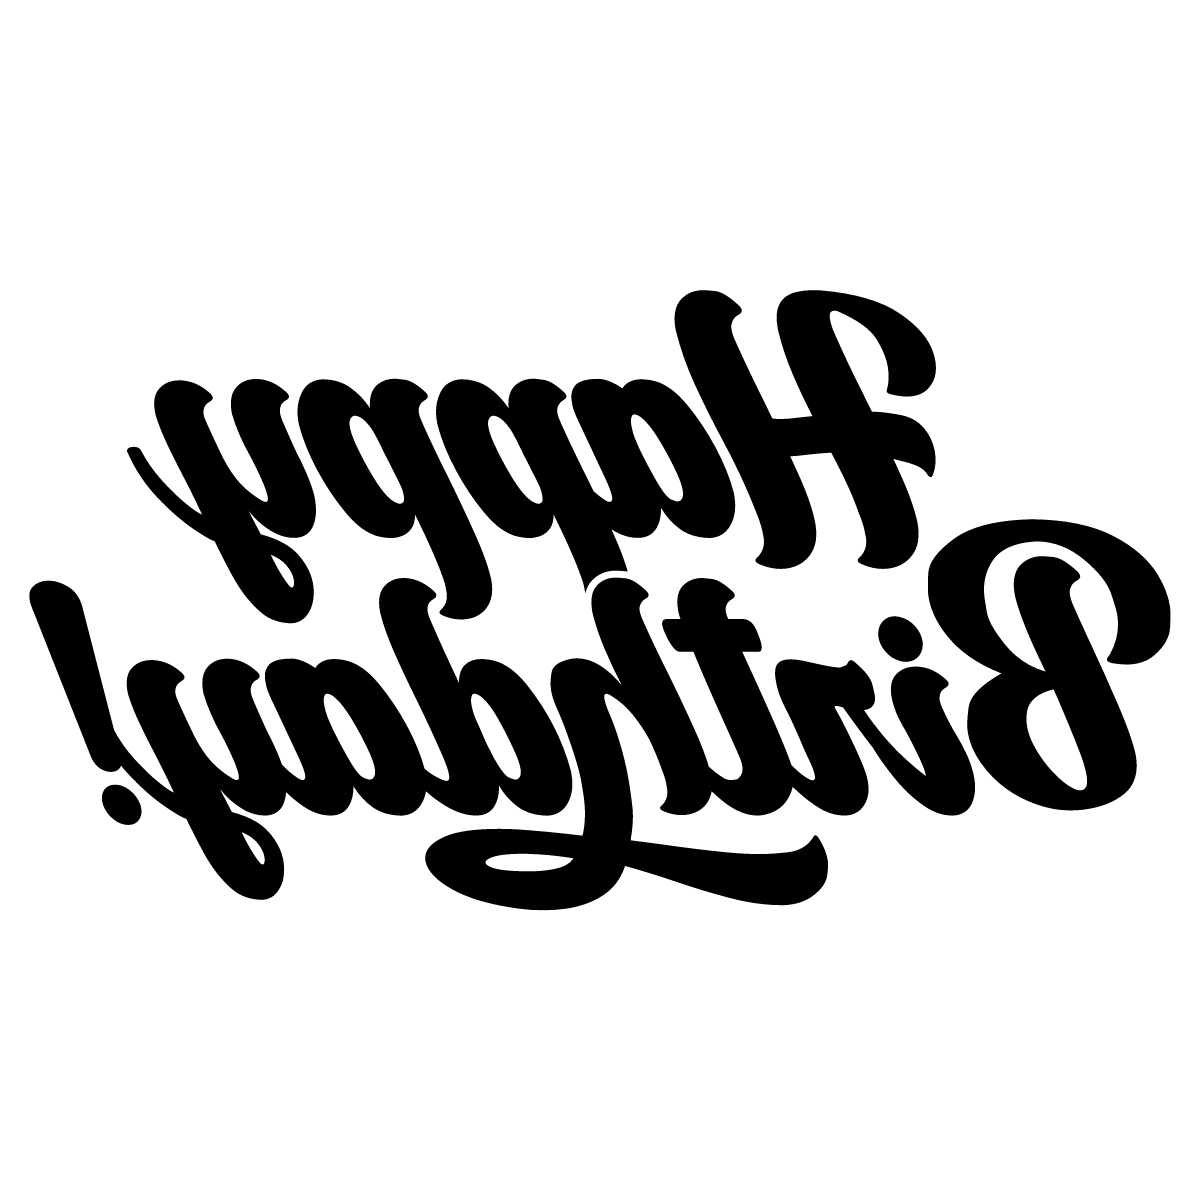
Here are some easy designs you can print at home:


Transfer your design to the linoleum
The next step in linocut printmaking at home is transferring the design onto the linoleum. There are two things you can do here. If you bought graphite paper, layer your design over the graphite paper. If you didn’t buy graphite paper completely shade over the back of your image with a pencil.
Place your image (either layered with graphite paper, or with shading on the back) over your piece of linoleum. Using either a pencil or pen, trace your design onto the linoleum. You want to press firmly, and the graphite from your paper (or from your shading) will transfer the design onto your linoleum.

Carve your linocut
Use your carving tools to start carving out your design. Remember that anything you carve will be blank space in your final print, and any remaining linoleum will be the design of your linocut.
I recommend playing around with your carving knives and experimenting with how they work. A carving knife that is “U” shaped will be better for carving away a wider section of linoleum, and a “V” shaped knife is better for precision and detail work.
Be careful when carving! The knives are really sharp, so keep your fingers completely away from the line of cutting. It’s really easy for the knives to slip and your fingers to get cut.
Apply ink to the linocut
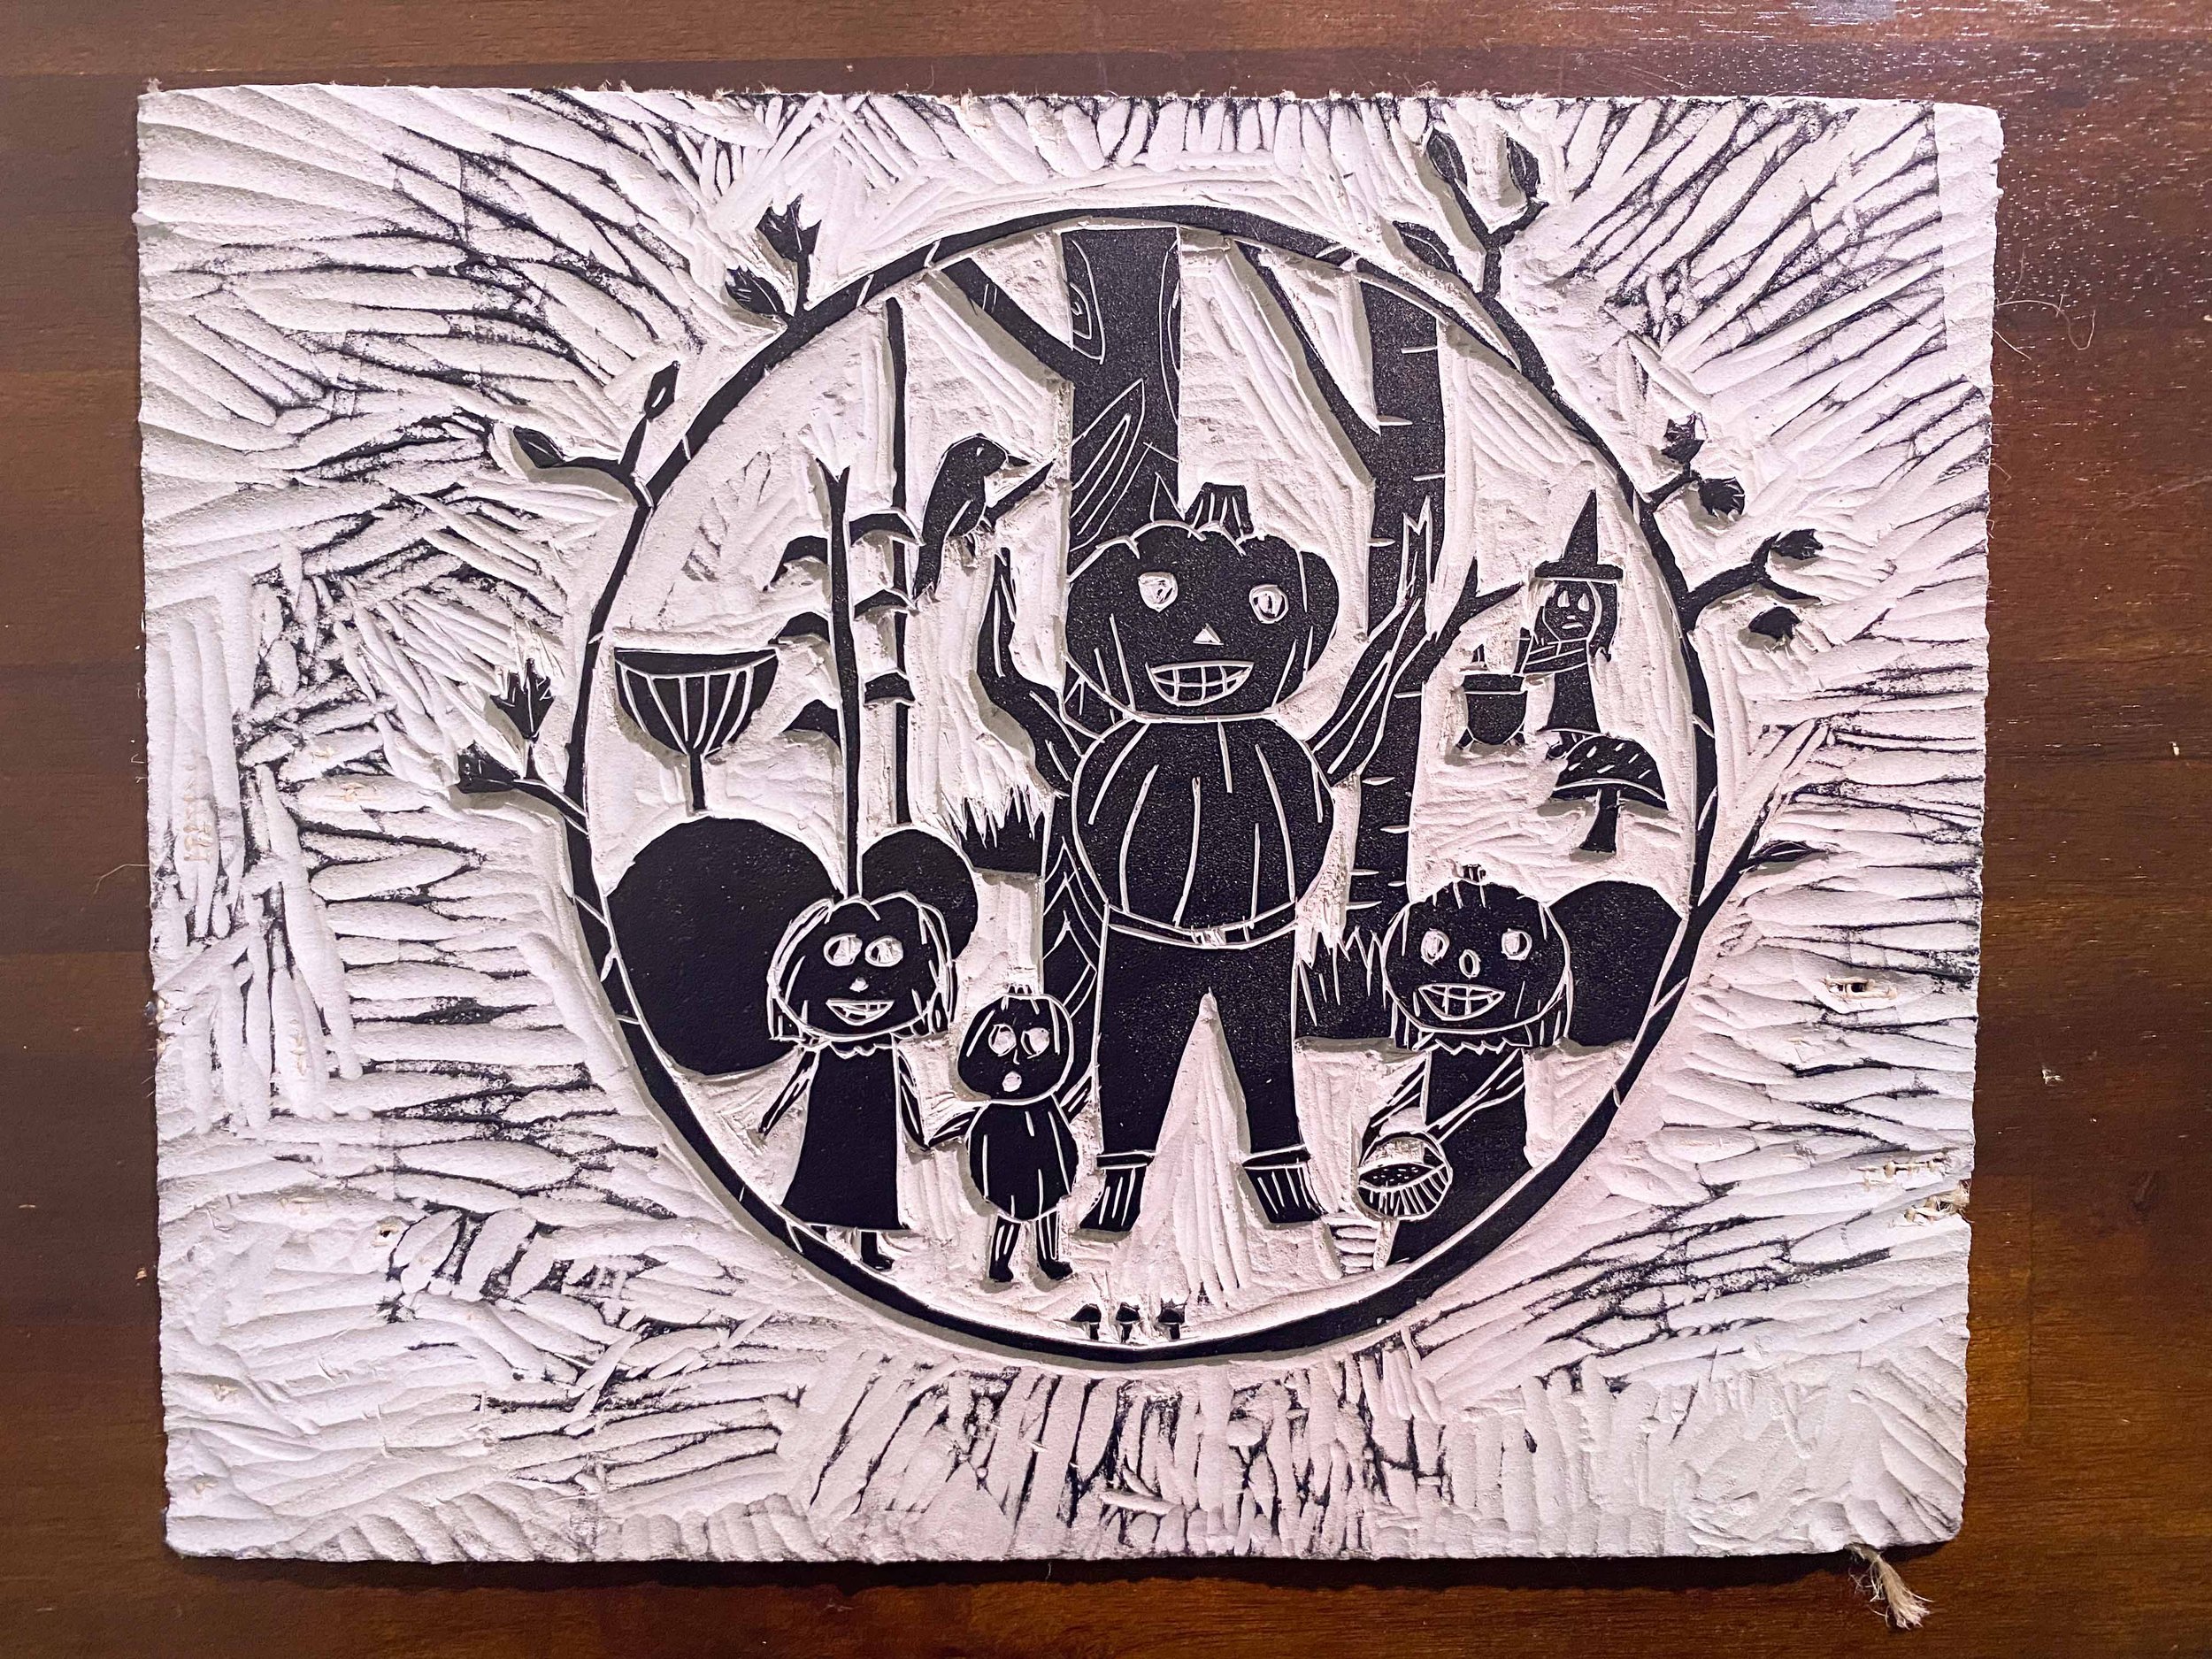
Using a paint scraper, put a tiny amount of water-soluble ink on your acrylic sheet (about 1/4 teaspoon). Then, using your rubber brayer, work the ink until it becomes a smooth, consistent texture. You’re aiming for it to have the texture of velvet.
Apply the ink to your brayer. You want to push the brayer forward, lift it, and then push it forward again through your ink. Do this a few times, so that your brayer is completely covered in ink.
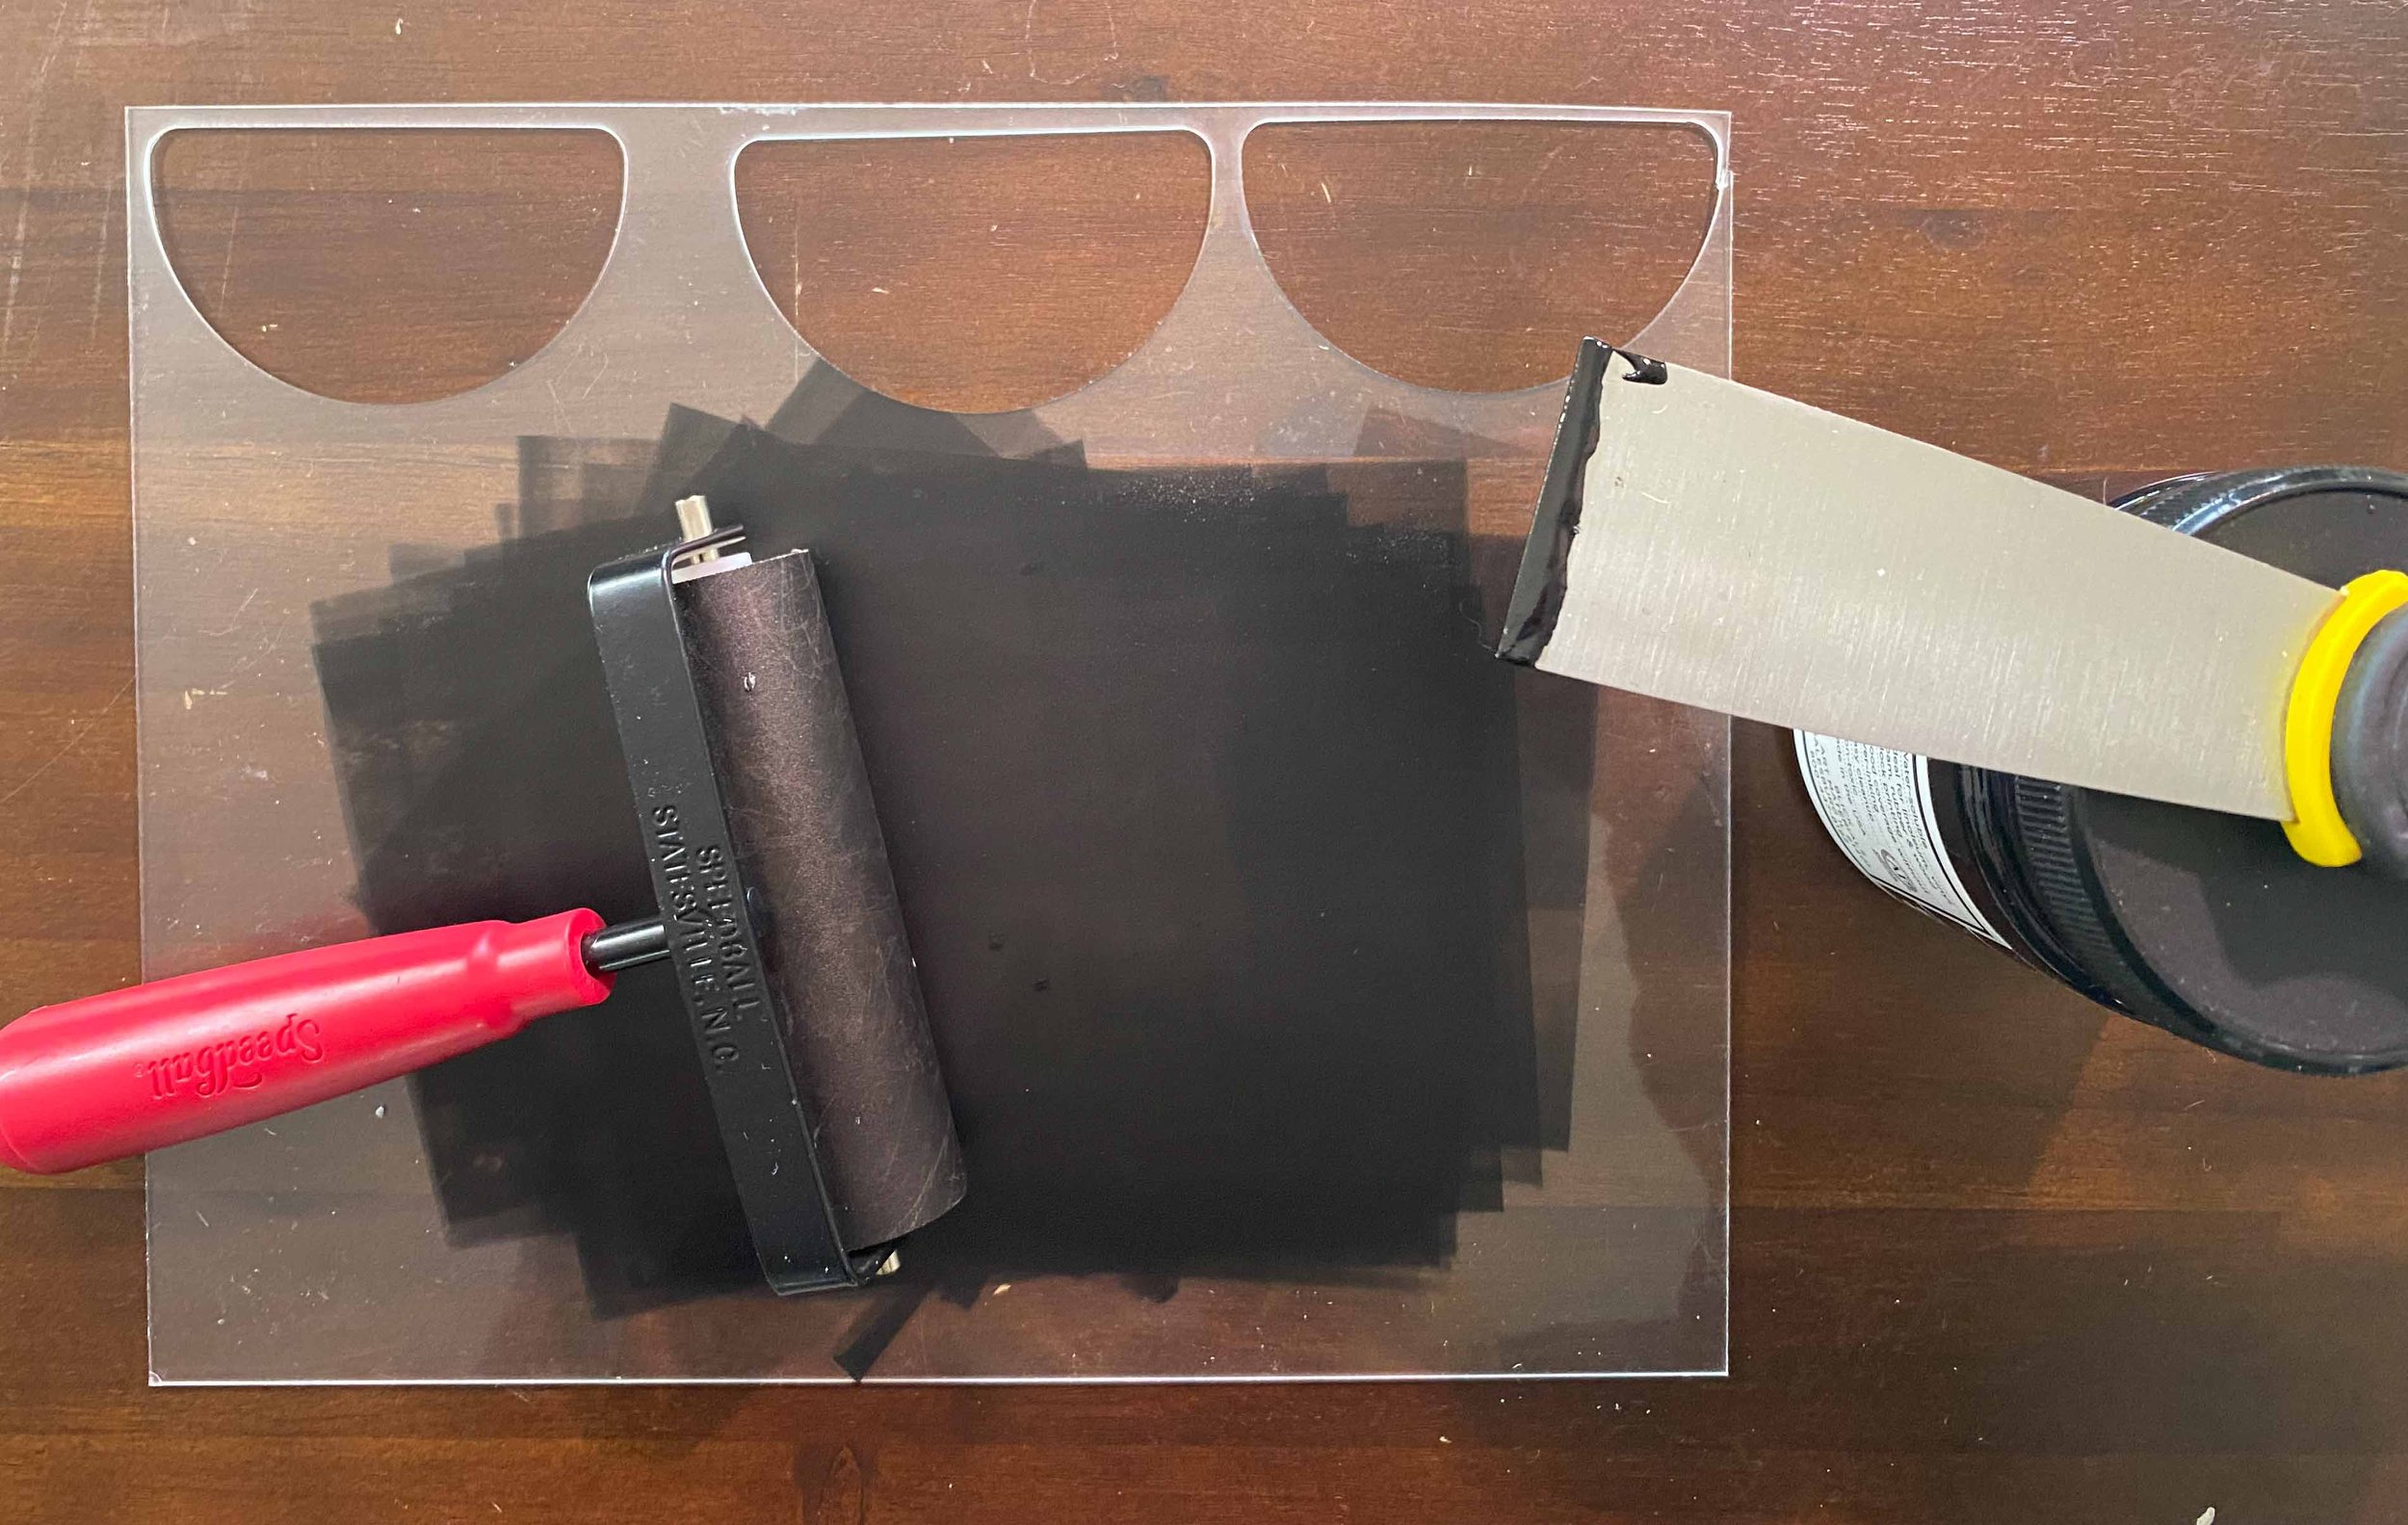
Run your brayer over your linocut, re-applying ink to your brayer as needed. Make sure you apply the ink in every direction - not just up and down, but also diagonally and side-to-side.
Print your image onto paper
With your linocut face-up and your paper face-down, place your paper on top of the linocut. Make sure you don’t move the paper after this step, or else your image will smudge.
With the wooden spoon, firmly press on your paper to transfer the ink onto the paper. Use firm, circular motions, and go over each part of your image multiple times to make sure the image transfers cleanly.
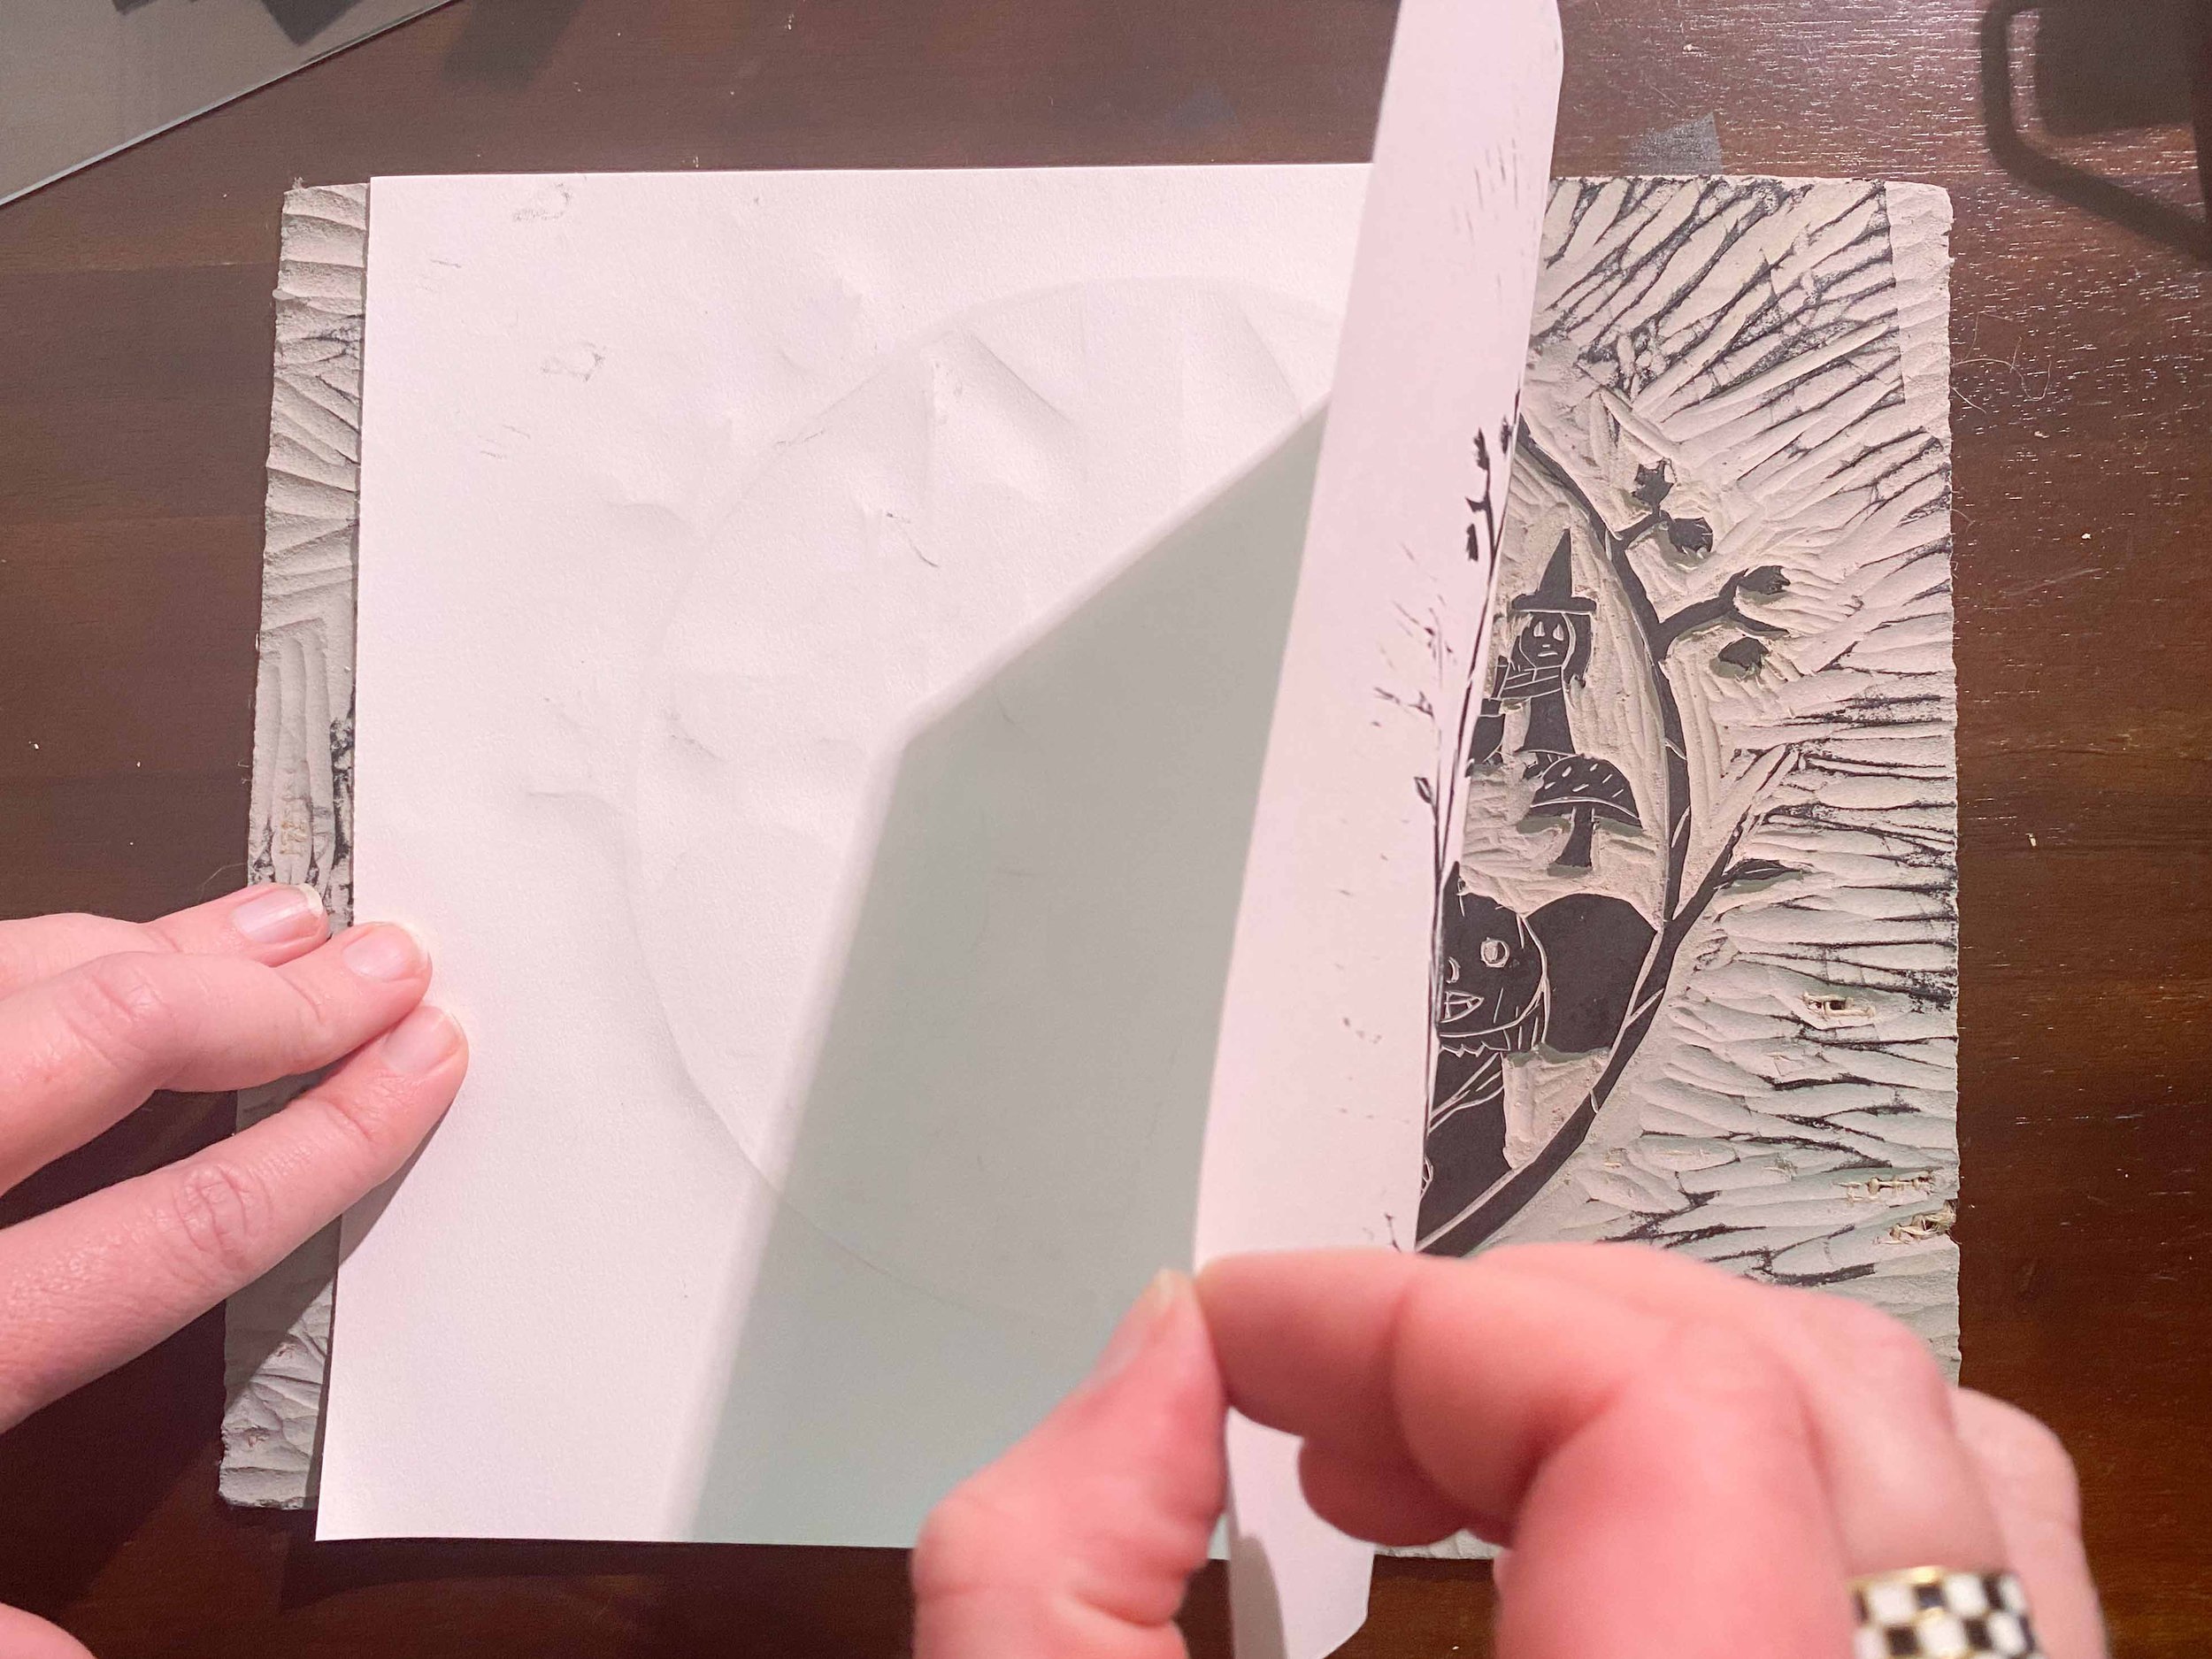
Gently peel off your paper, and you’re done!

Troubleshooting
There are a few things that can go wrong when making a linocut print. Here’s a few of them, and how to solve them:
If your ink looks faded or splotchy, apply more ink and use more pressure when transferring the ink to your paper.
If your image doesn’t look crisp, your paper probably shifted while transferring. Make sure you hold the paper in place firmly.
If you have black lines in the empty space of your image (chatter), use tape to cover any areas that were inked where you don’t want ink to appear in your final image.